Power Automate flows are a powerful tool, but one thing they currently lack is formal version history capabilities. Version history can be very useful when troubleshooting during development, as it allows us to quickly rollback changes that may be causing errors or producing unexpected results.
In this blogpost, we demonstrate how to make a copy of a flow. We frequently use this method to create a pseudo version history that can mitigate the risk of updating a flow without a formal version history in place. By making a copy of the original flow and testing updates on the copy, we can perform updates with less worry and save time should we need to revert to the original version.
Steps to copy a Power Automate flow
There are multiple ways for one to navigate to a Power Automate flow. For this demonstration, we’ll assume you are in a Power Apps solution and your flow is imported to it.
- Go to the respective solution and locate the flow that needs to be edited.
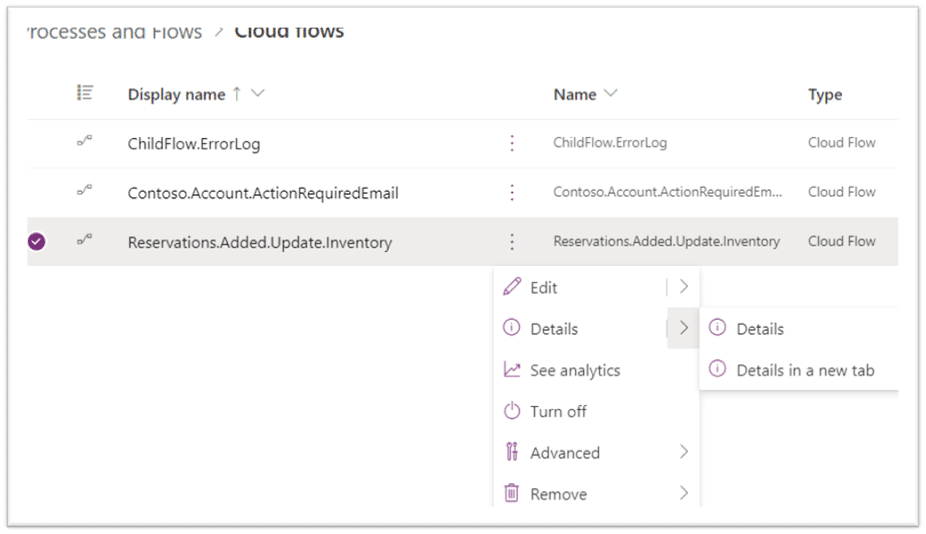
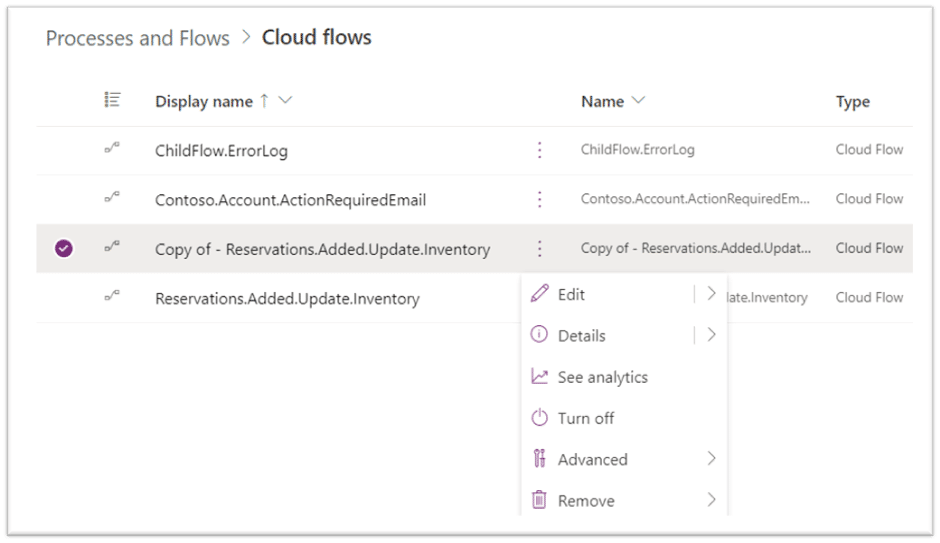
- Click on the three dots next to the flow name and select Details > Details in a new tab.

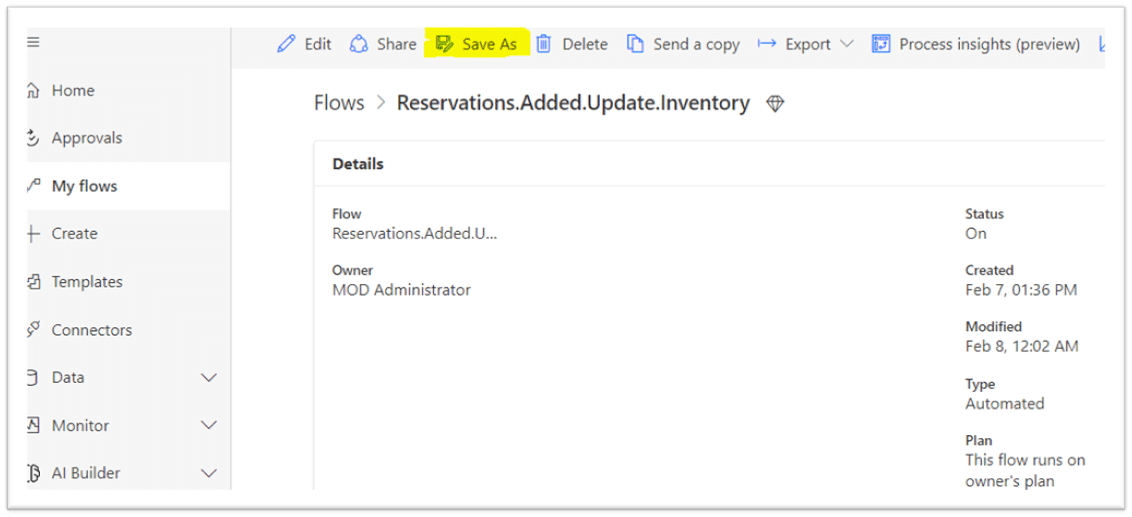
- This leads us to a new make.powerautomate.com page. Click on Save As in the command bar.

- A pop-up window will appear and display the default name for the flow, Copy of – [name of the original flow].

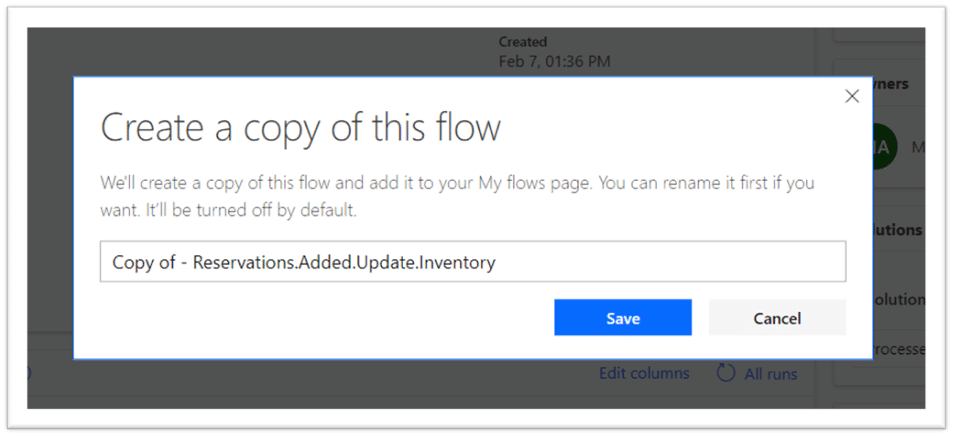
- If you wish to continue with the default name, simply hit the Save button. Otherwise change it to your desired name.
- You will see the copy of – [original flow] created. If not, try refreshing the page.

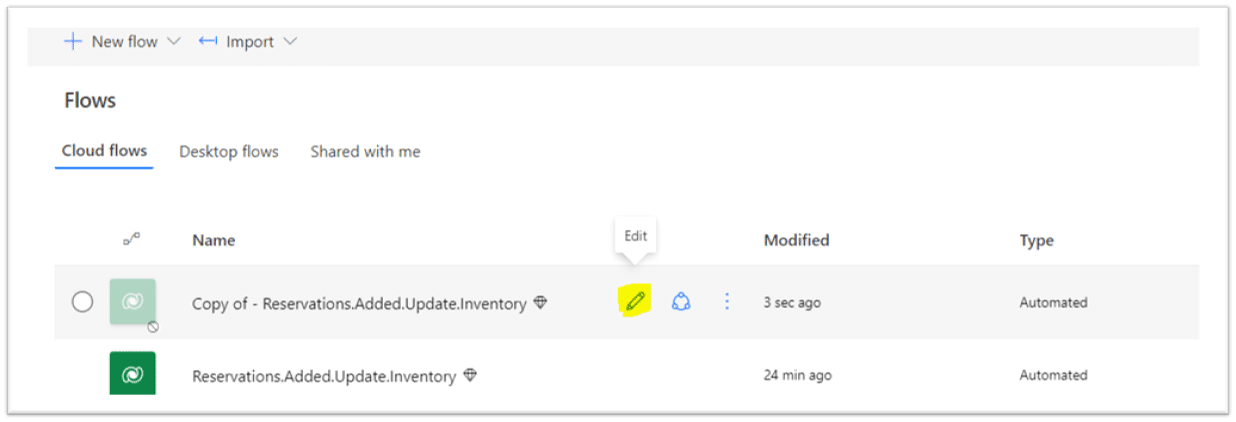
- Now click the pencil icon to edit the newly copied flow. Make changes to the flow as desired and test it.
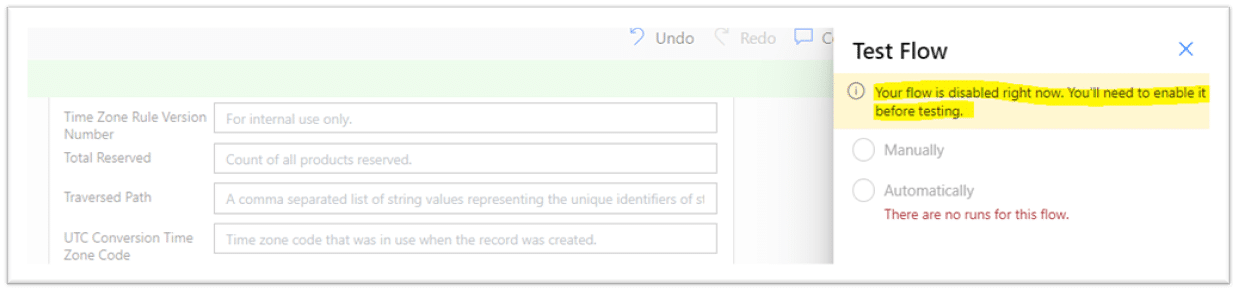
Note: Please remember to Turn On the copied flow. Otherwise, you will be not able to test or use the flow, and you will see the following error.

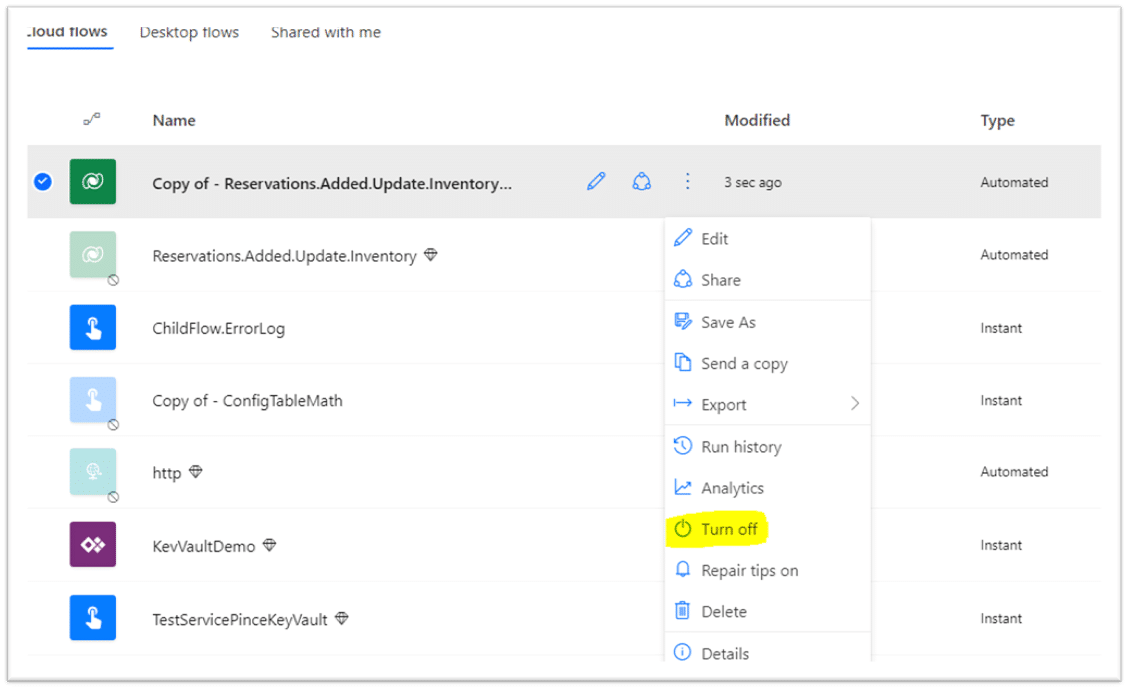
Note: Also be sure to Turn Off the old flow, otherwise the flow may run twice when you are interacting with the Power Apps, causing an unexpected behavior. To Turn On/Turn Off a flow, click on the three dots beside the name of the flow and hit Turn On to enable a flow and Turn Off to disable a flow.

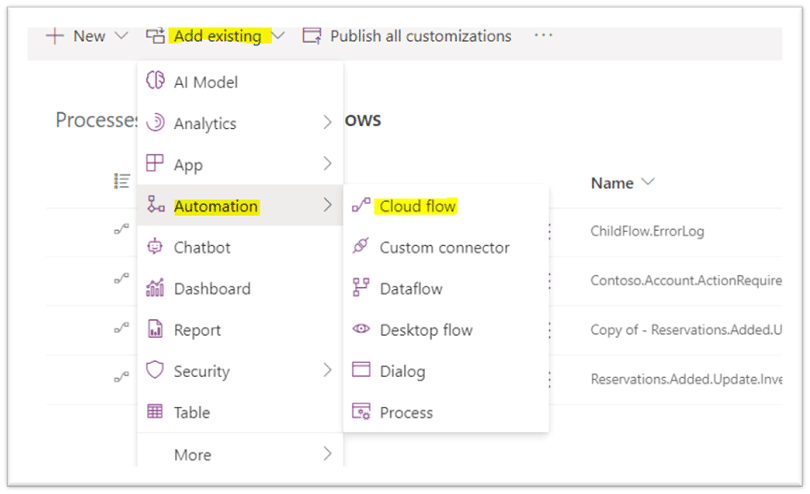
- You can also see the Copy of – [original flow] was directly imported to your solution. If not, add it by clicking on Add existing > Automation > Cloud flow.

- You now see cloud flows From Dataverse and Outside Dataverse. Select the appropriate flow and click Add. Depending on the trigger and configuration of your flow, you may have to look in the Outside Dataverse section.

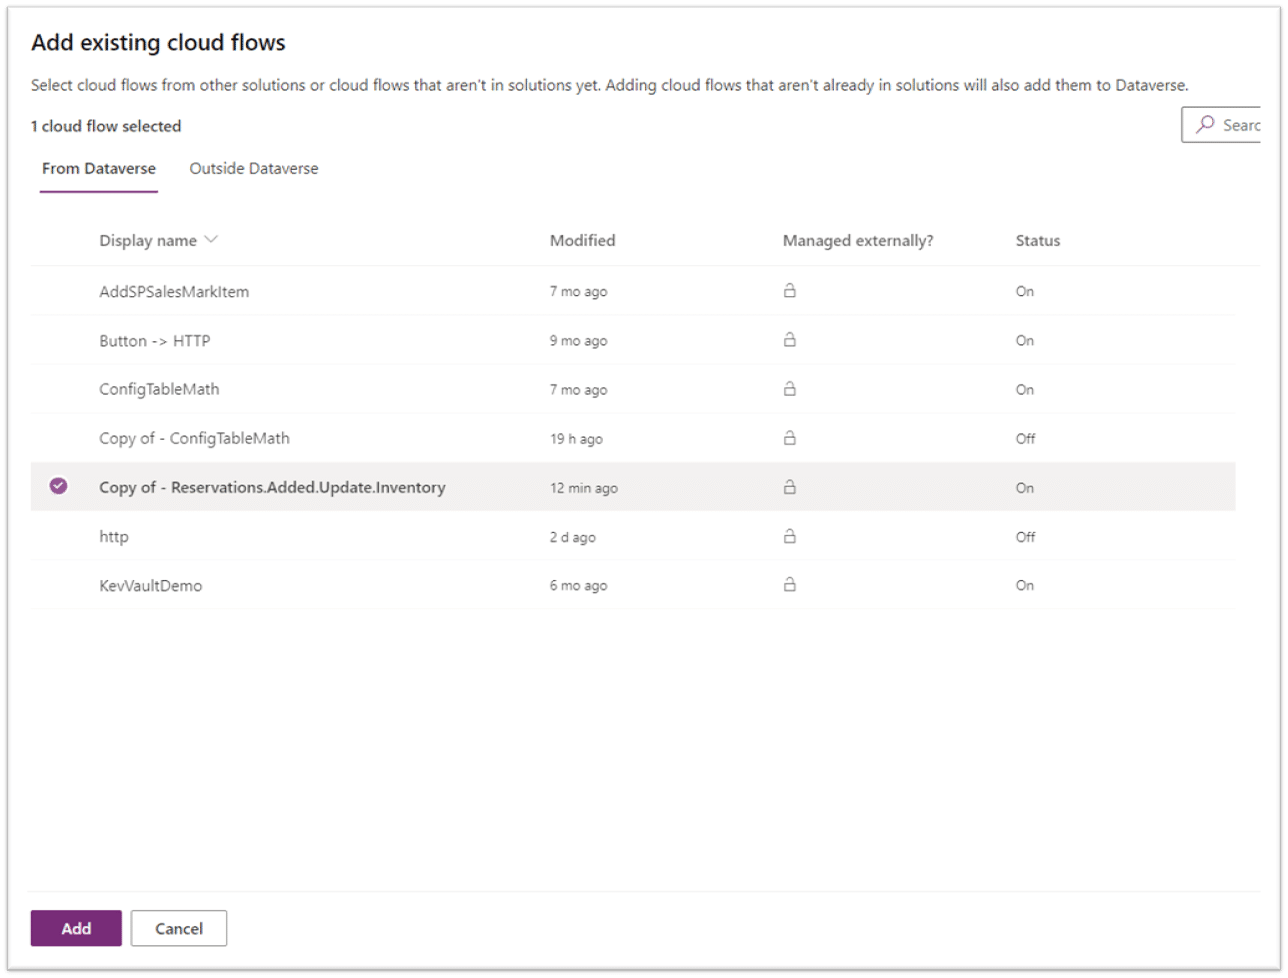
- Now you will see both new and old Power Automate flows. Please also double check the status to determine whether the correct flow is Turned On or Turned Off before publishing.

Once imported to the correct solution, you can make changes to the copied flow and test them. Should you decide to stick with the original configuration, simply delete the copy and turn the original back on. If you would like to move forward with the copy, delete the original flow, then update the name of the copy.
Happy Flowing!