
How Microsoft Power Platform is helping to modernize and enable...
In this webinar, our experts showcase a variety of demo use cases of how different components of the...
Dynamics 365 is pretty easy to navigate, but sometimes you may want to get to a specific area of CRM even faster! One way to do this is by adding shortcuts to your dashboard. This blog will give you a step by step process on how to add web resource shortcuts to your dashboard using HTML hyperlinks.
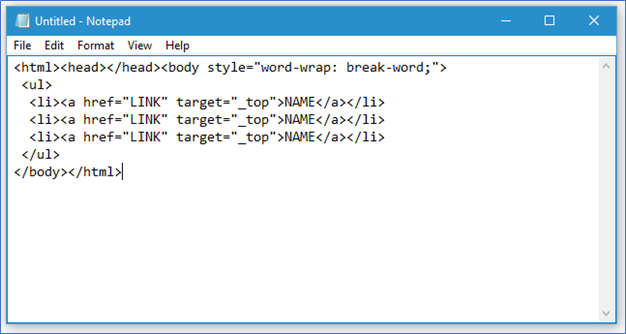
The first step is to open Notepad or a similar text editor on your computer and copy and paste the following HTML code:
Each link will be part of a
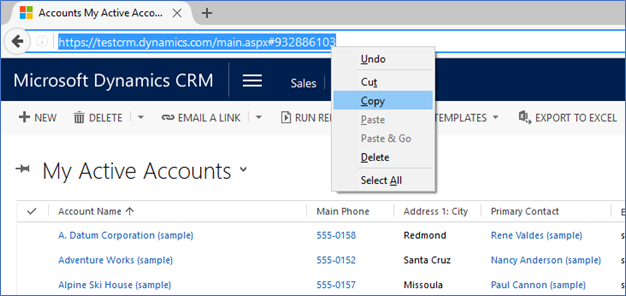
Next, we need to replace LINK with the actual URL, and the NAME with a real name. Let's start with Account.
Repeat these steps for all the shortcuts you want to create.
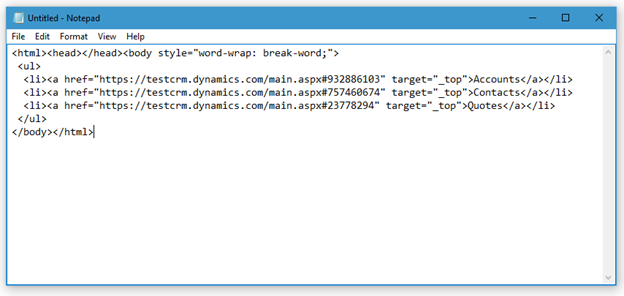
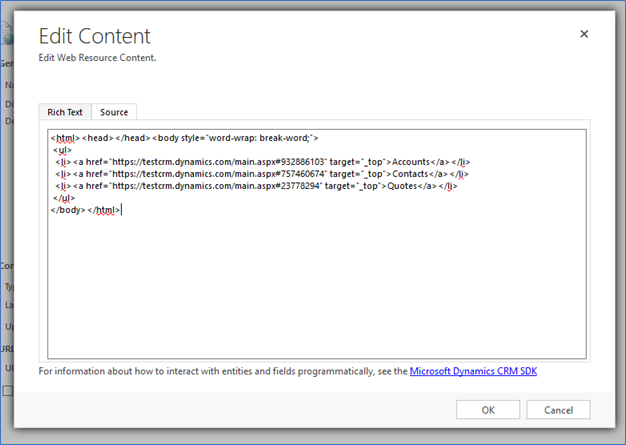
In our example, our HTML code with three shortcuts looks like this.
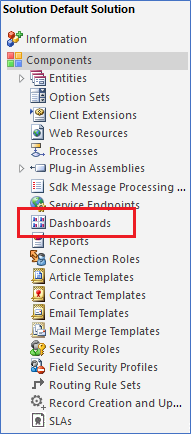
Now, we can save the code as an HTML file to upload into CRM. Press File > Save or the Save shortcut Ctrl-S and save the file as links.html. After that, head over to Dynamics 365. Navigate to Settings > Customizations and select Customize the System.

In the new window that opens, select Dashboards on the left pane.
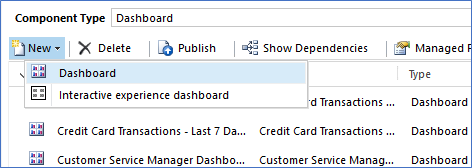
You can select New > Dashboard to create a new dashboard or add the widget to an existing dashboard if you prefer. In this example, we're going to create a new dashboard.
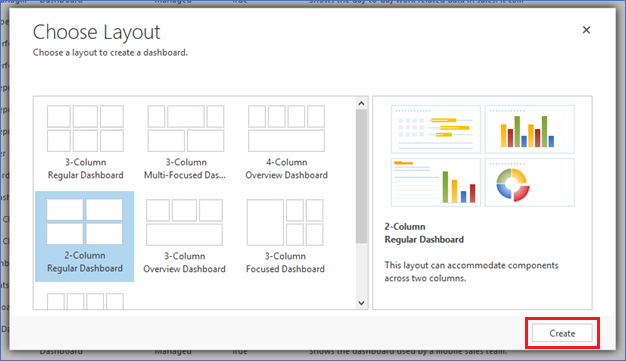
Select the layout you prefer. In this example, we're going to select the 2-Column Regular Dashboard. Once your layout is selected, click Create.
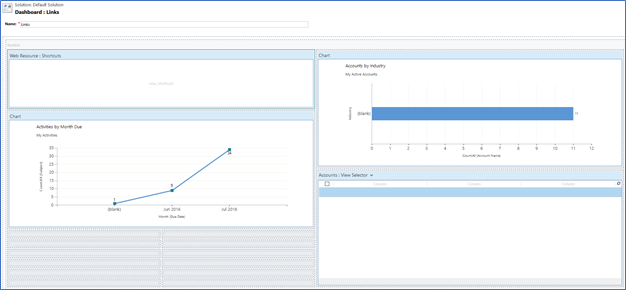
We're going to name our dashboard Links, but you may call it anything you like.
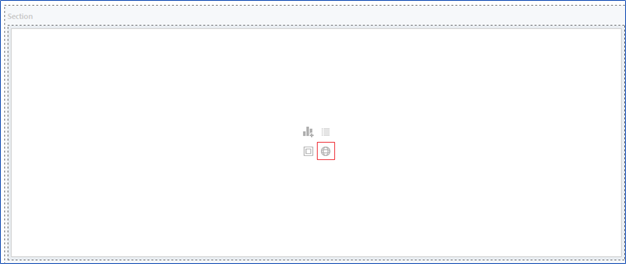
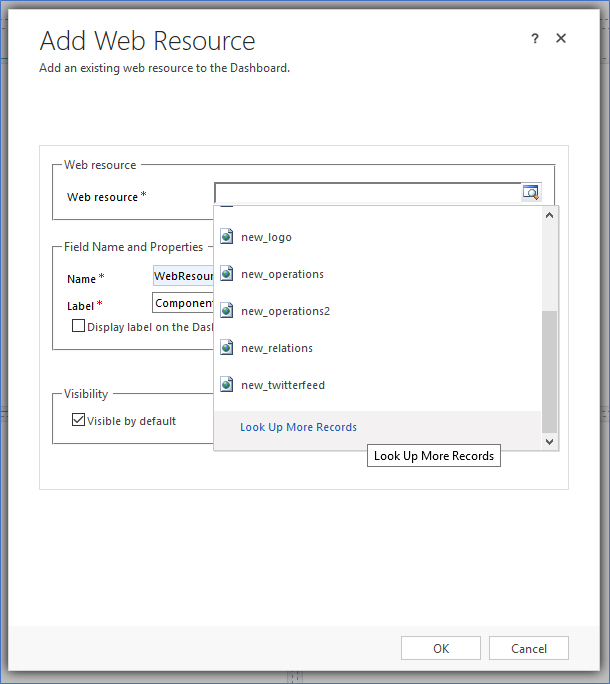
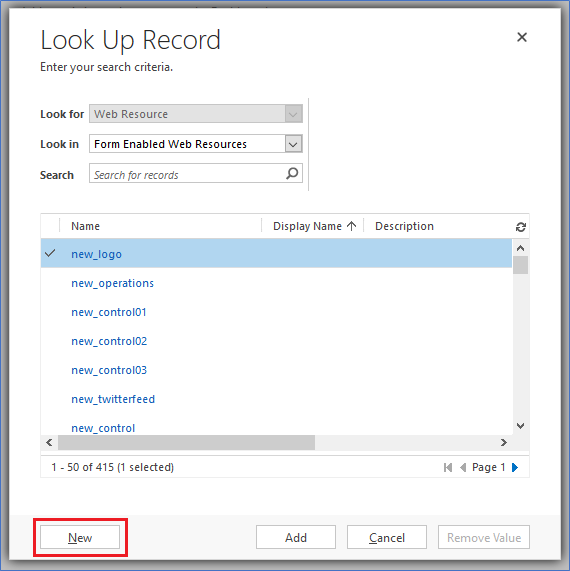
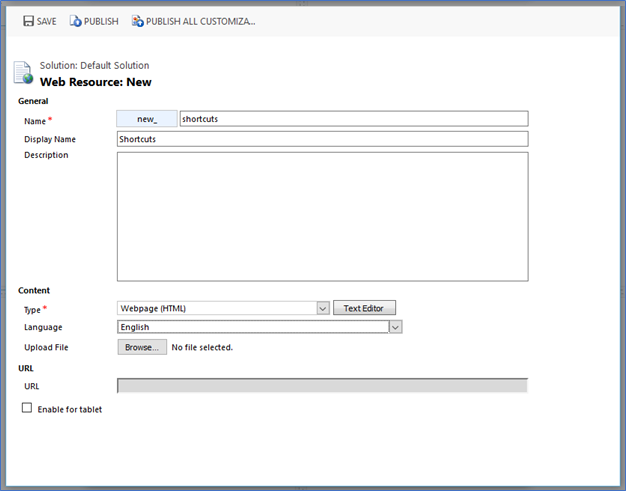
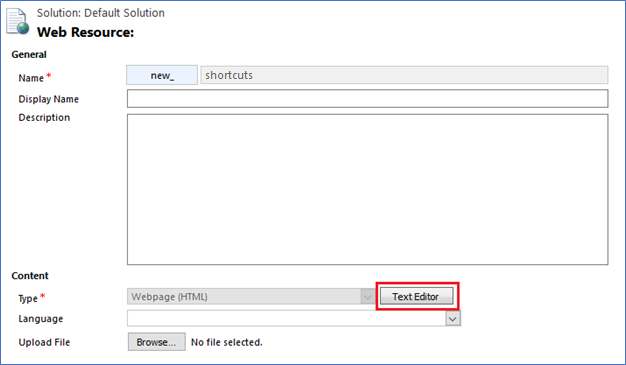
In this example we're going to name our web resource new_shortcuts with the display name Shortcuts. We will select the Type as Webpage (HTML) and the language as English.
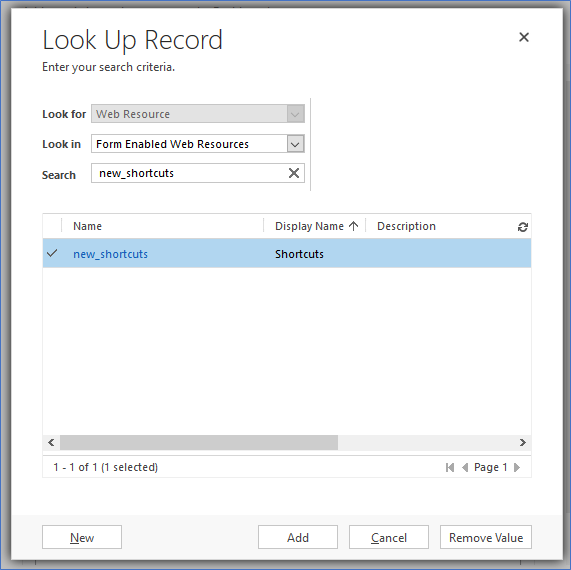
You will return to the Look Up Record window with your new shortcuts web resource selected.
In this example we just set the Name and Label to Shortcuts.
You have now added your shortcuts onto your dashboard! You may want to change the size, such as the height, by pressing the ellipses on the top bar and selecting the buttons to modify the size.
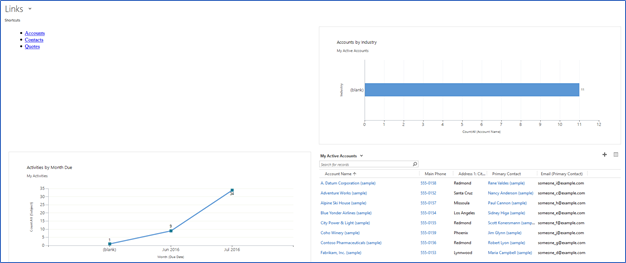
Here is our example with our shortcuts alongside charts and a list. We've decreased the height considerably since we only have three shortcuts.
In the Dashboard editor, press Save and Close after you have formatted the size as you like, and added any other dashboard components you require.
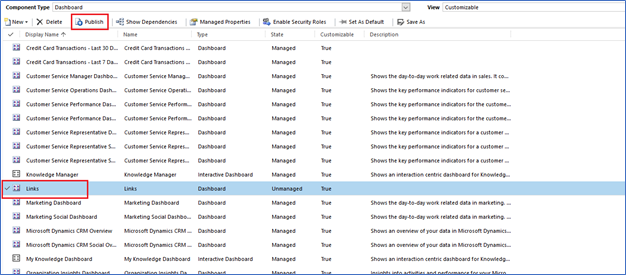
To make the changes active, you will need to Publish your dashboard by selecting it and using the Publish button in the Dashboards customization screen.
That's it! Let's navigate over to Sales > Dashboards and select Shortcuts from the drop-down menu of Dashboards. The links we created are right there on our dashboard.
But wait, there's even more!
You can change the way your links operate. Currently they open in the same window as a new link. This is due to the target="_top" part of your link. You can change the links individually by changing the target value:
target="_blank" will open in a new window or tab.
target="_self" will open in the current frame (ie. Within the dashboard component itself).
You can also add external links, in which case you would add the URL and would most likely want to use the target="_blank" code above. For example, to add a link to open the PowerObjects website your code for this link would be:
You can also edit your shortcuts in the future by going to Settings > Customizations and select Customize the System.
In the new window that opens, select Web Resources on the left pane.
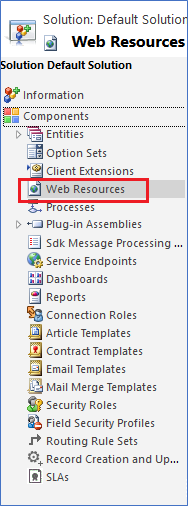
In the list, double click your new shortcuts web resource and in the new window, select the Text Editor button.
You can edit your code to add, change or remove links in the Source tab.
When finished, simply save and publish your web resource, and publish the dashboard again!
If you would like to learn more about dashboards and how to customize them for ease and transparency, check out one of our other blogs on dashboards!
Get Those PowerBi tiles Embedded in Your CRM Dashboards
Searching In Dashboards Inside Microsoft Dynamics CRM
Also, check out the CRM Book for more information about using HTML Web Resources in Dynamics 365!
Happy CRM'ing!


Hi Joe, I thought this would be a very helpful thing to know, unfortunately, every time when I go to the views, for example Accounts (Active Account - this is default), it takes different number which is provided just after main.aspx#_ _ _ _ _. So this doesn't work and it goes to the same dashboard, I mean it refreshes the dashboard. Can you help me on this?