
How Microsoft Power Platform is helping to modernize and enable...
In this webinar, our experts showcase a variety of demo use cases of how different components of the...
ADF is a data integration service based on the cloud and is a part of Microsoft’s analytics suite. However, ADF Pipeline is used for an Extract Transform Load purpose (Data Integration/Data Migration between two systems (on prem or cloud) at a bigger scale).
A Pipeline is a data-driven workflow where data is orchestrated to transform as per Target system requirements. ADF Pipeline is both powerful and complex at the same time. Let’s explore creating a Pipeline...
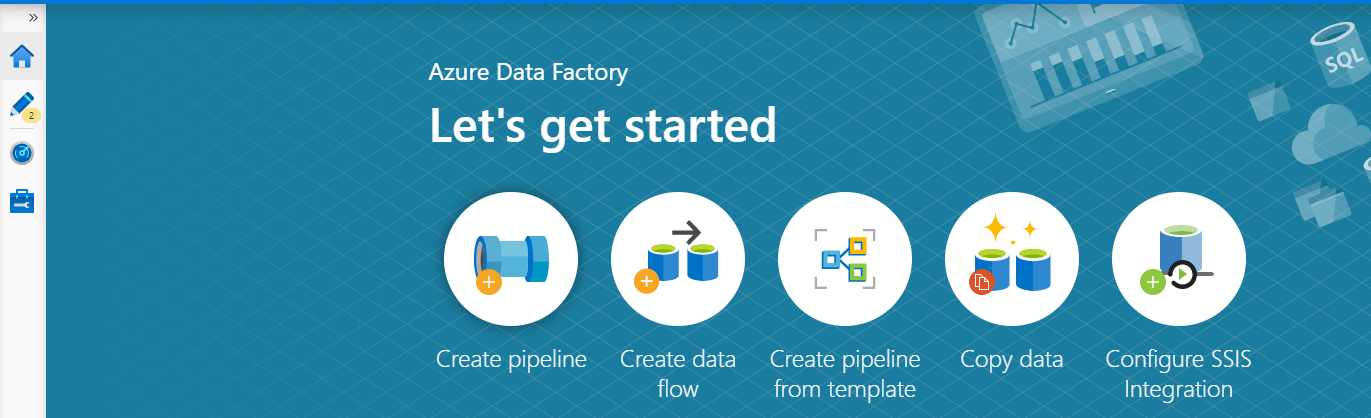
Login to Azure Portal and navigate to Azure Data Factory
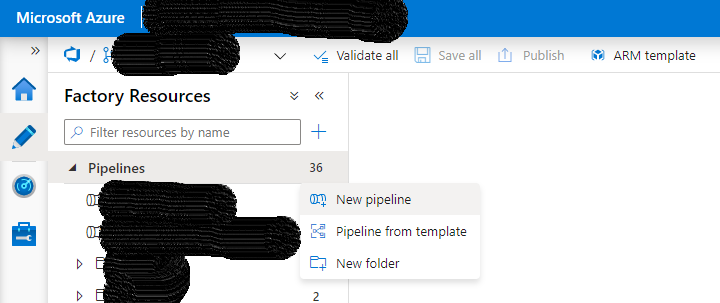
Click Create Pipeline on screen shown below. Alternatively, you can click on the ‘Pencil’ icon to go to the Factory Resources. Right-click on the Pipelines tab and select New pipeline.
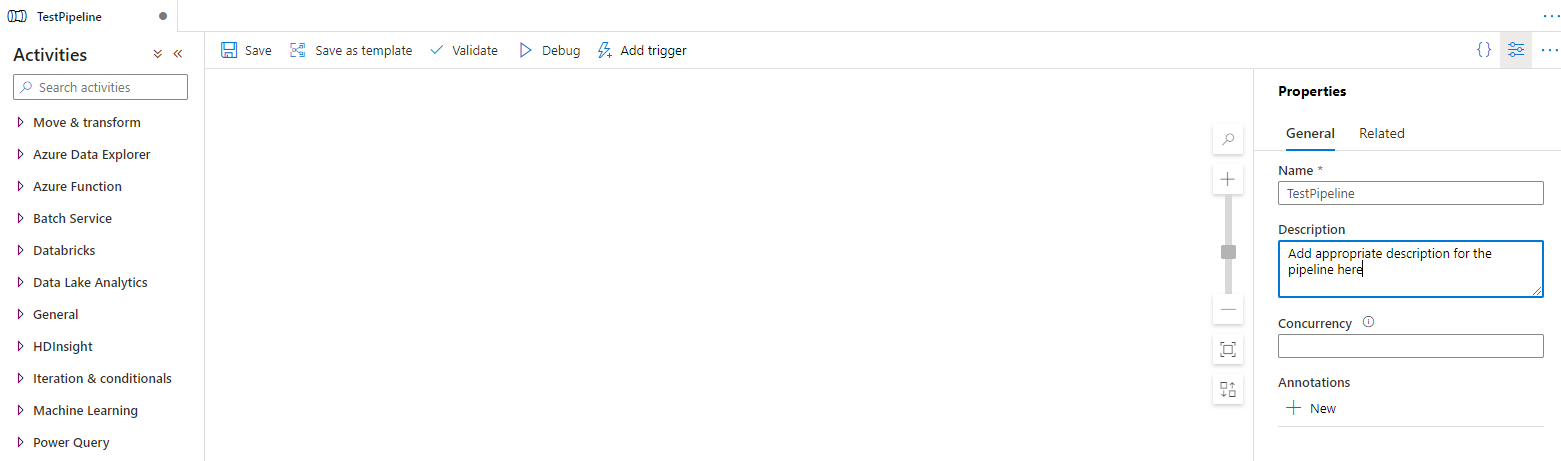
Give a unique and relevant name for the Pipeline and provide appropriate description about the Pipeline purpose.
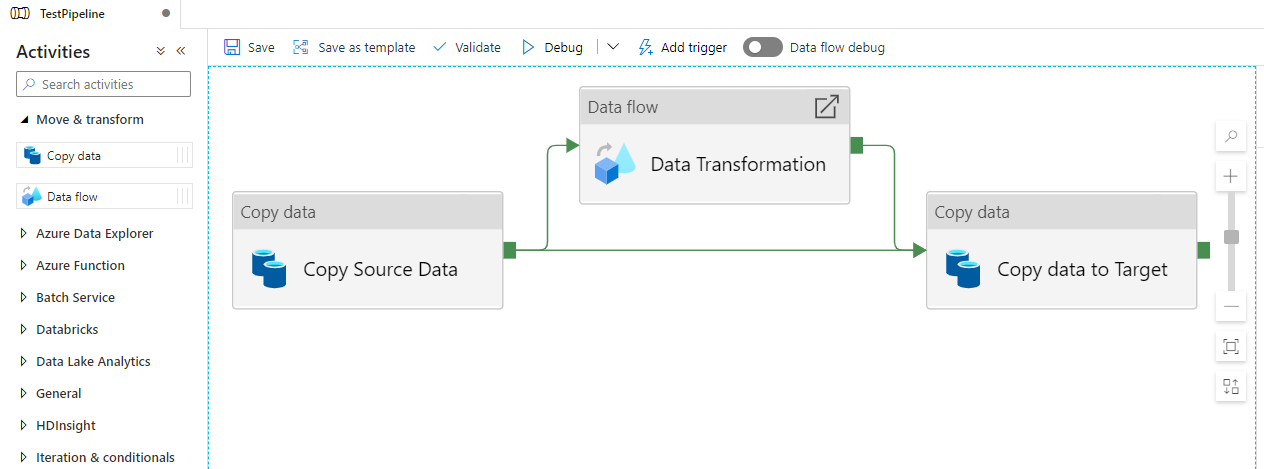
Select Activities for the Pipeline.

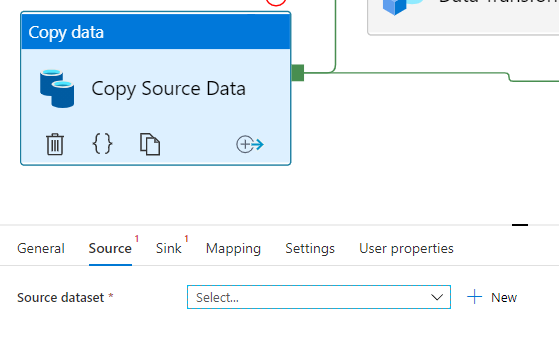
Copy Activity – used to select data from source system as well as to load data into target system. Data can be stored either as a parking for transformation or directly to the final destination if data transformation is not needed.
Data Transformation – used for data massaging and transformation purpose, to make data ready for the target system.
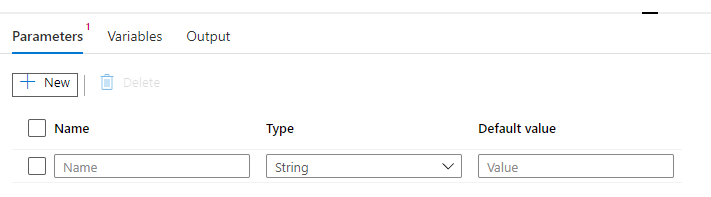
*Parameters and Variable tab – set input params and variable for Data Transformation process.
e.g., You can pass on Pipeline Run ID (unique GUID) that can be used to configure unique file names for staging or transformed data files.
Select Dataset for the source (Copy Activity). ADF supports a vast list of different source and Target datasets option. e.g., Blob Storage file, Data Lake, D365 or CDS, Azure DB, Oracle, SAP, spark, etc.
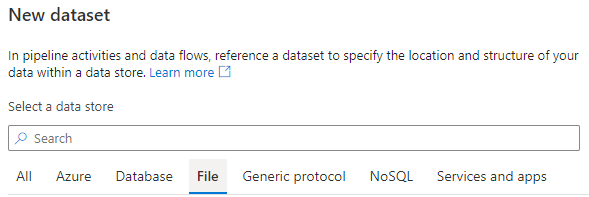
*If using D365 or CDS connector for a source, we can select CRM Entities or use Fetch XML to pull data.
*Select Source and Target datasets for direct data loading, where Data transformation is not required. Else, park a data for next Data Transformation activity.
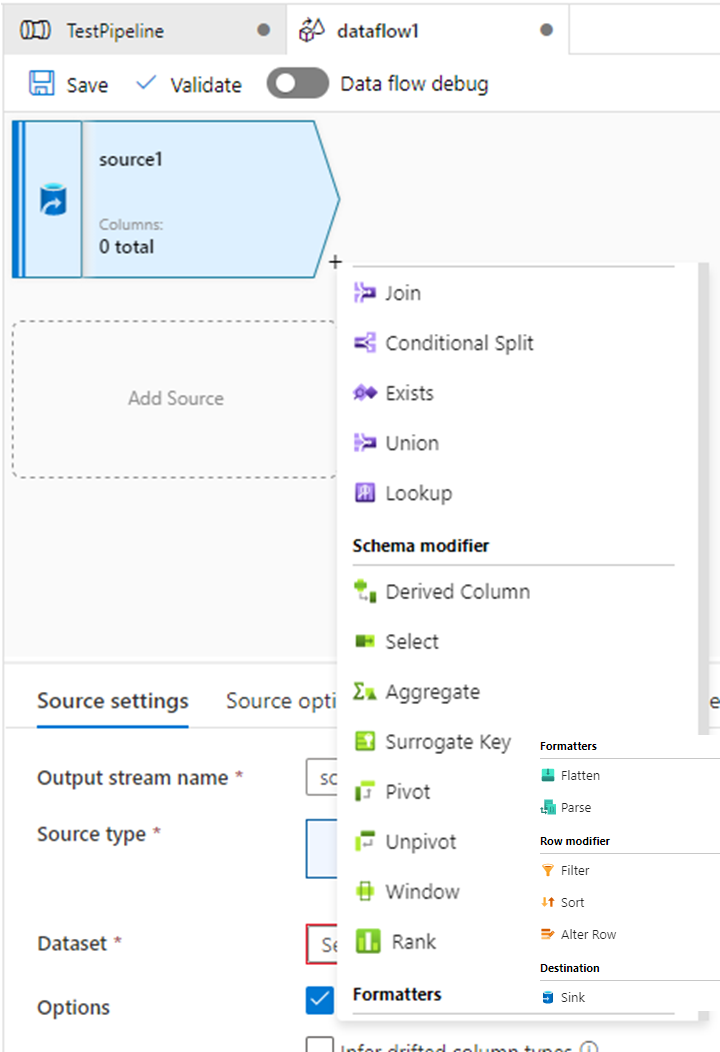
Select Data Flow activity and navigate to Settings property tab to click on + New. This opens a new tab in IDE to let you work on Data Transformation.
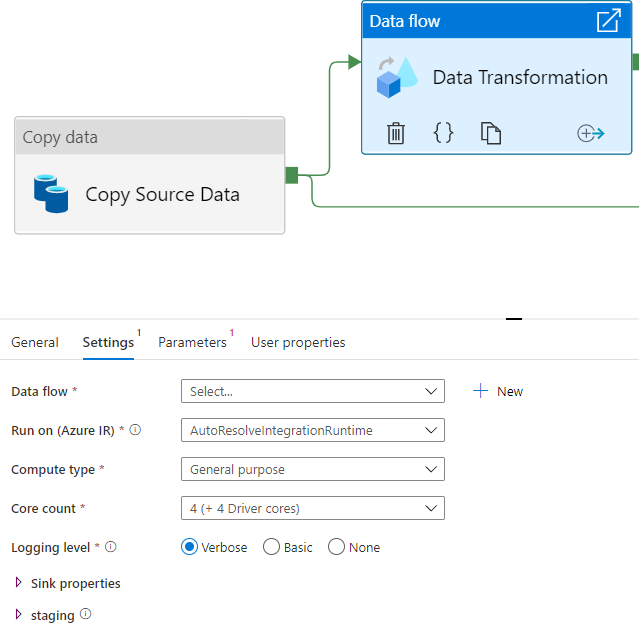
Make use of various useful OOB functions for the transformation process or use Derived Column to put your own custom logic to massage/transform the data.
Use Sink to generate a transformed data file. Use Mapping tab to configure out file columns and data alignments.
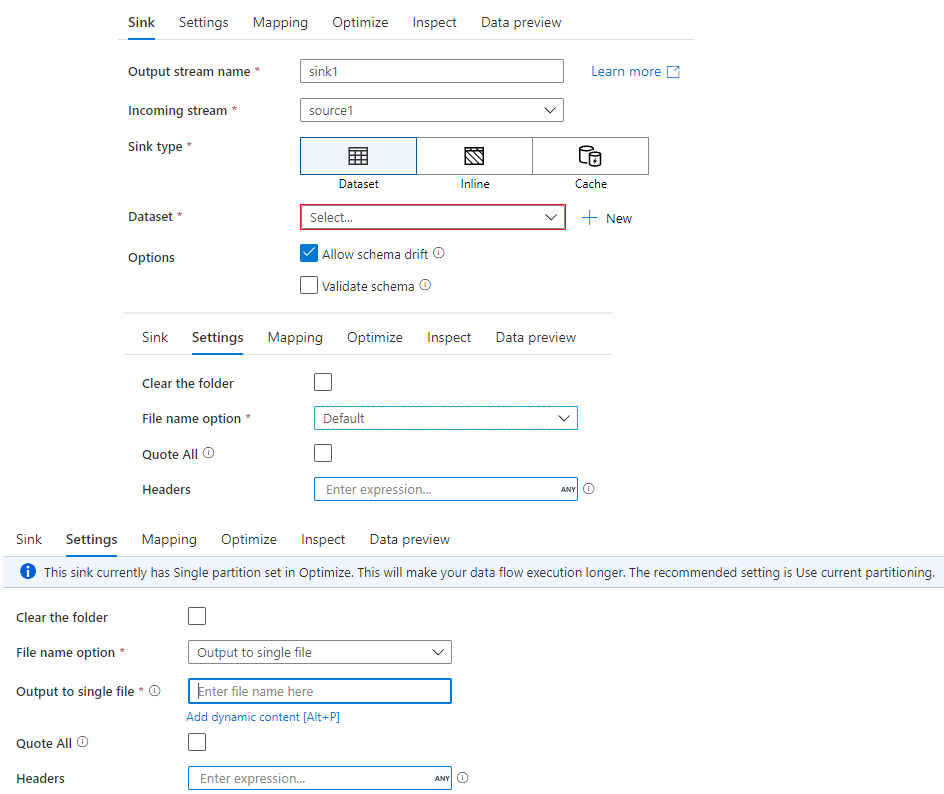
*Choosing Output to single file option lets you have transformed data into 1 file and you can configure the output file name using Visual expression builder (OOB functions and input Params and Variables).
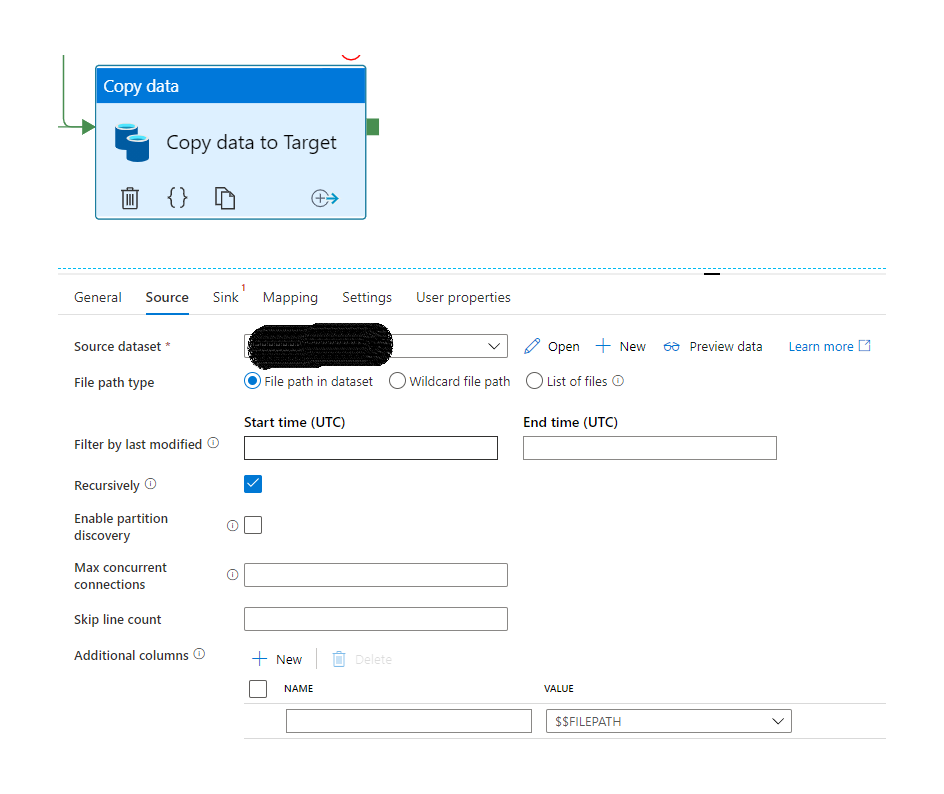
Use Copy Activity to load transformed data into target system. You can add additional columns to the dataset of String datatypes.
We hope that is helpful to you. Happy D365'ing!


