
How Microsoft Power Platform is helping to modernize and enable...
In this webinar, our experts showcase a variety of demo use cases of how different components of the...
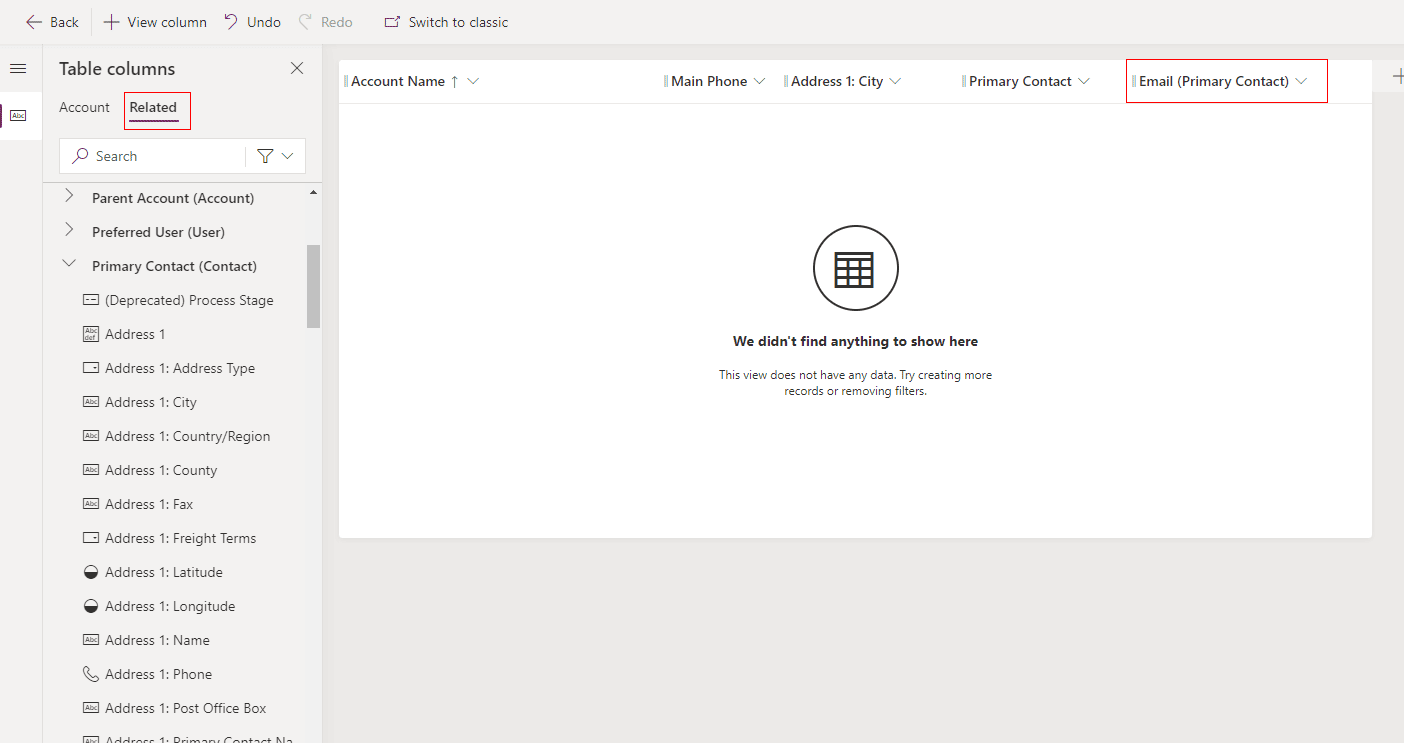
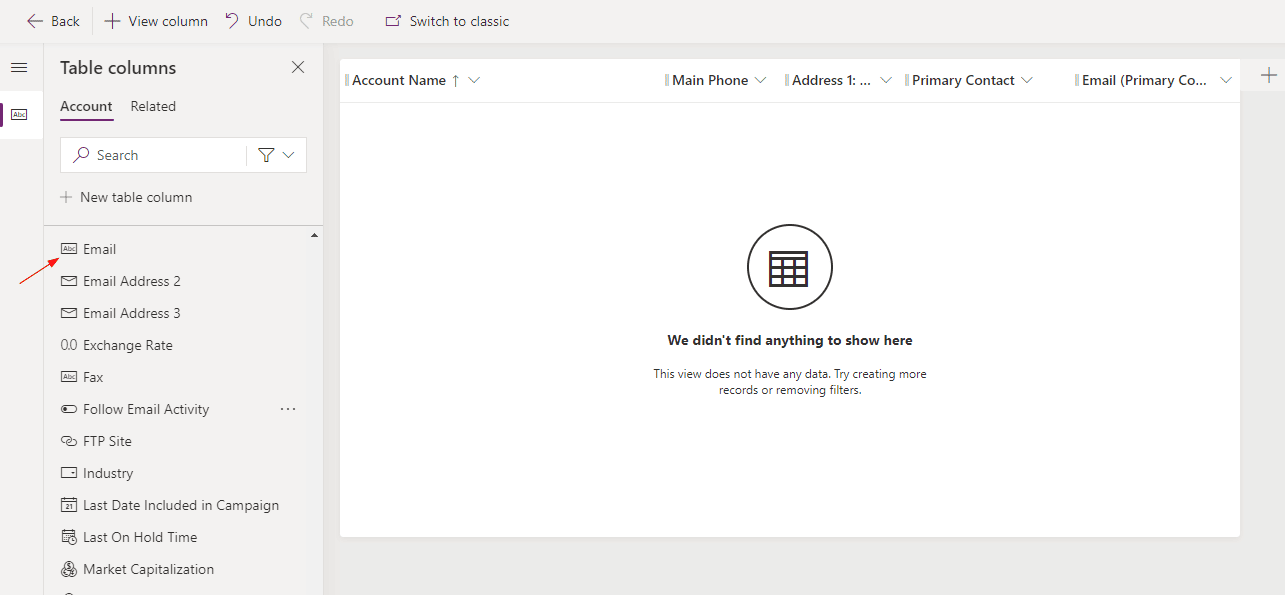
In today’s business scenario, we examine the common need to rename columns fetched from related entities when adding them into views. When we add any column from a related entity in the view, by default the naming convention of that column is ColumnName (Related Entity Name). This might confuse end users.
However, the existing column of the current entity remains the same as its Display Name.
In this blogpost, we will see how we can rename related entity columns on views. We can achieve this in a couple of different ways:
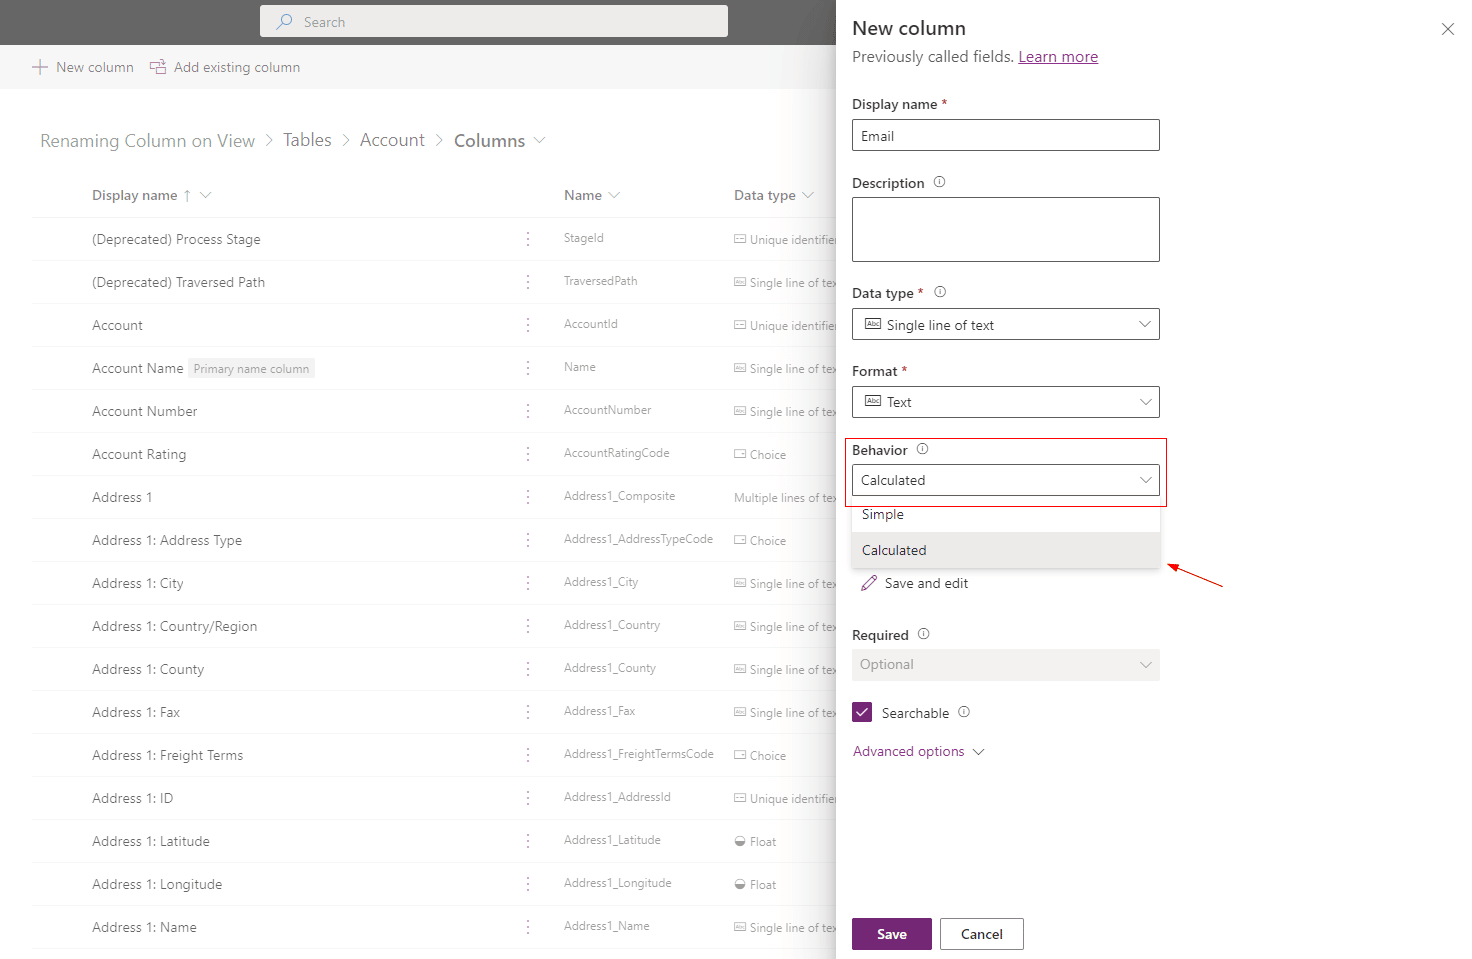
We can create a calculated column in the current entity with the new name we need and populate the value from the related entity column into it.
Create new calculated column
Set the calculated field from lookup entity
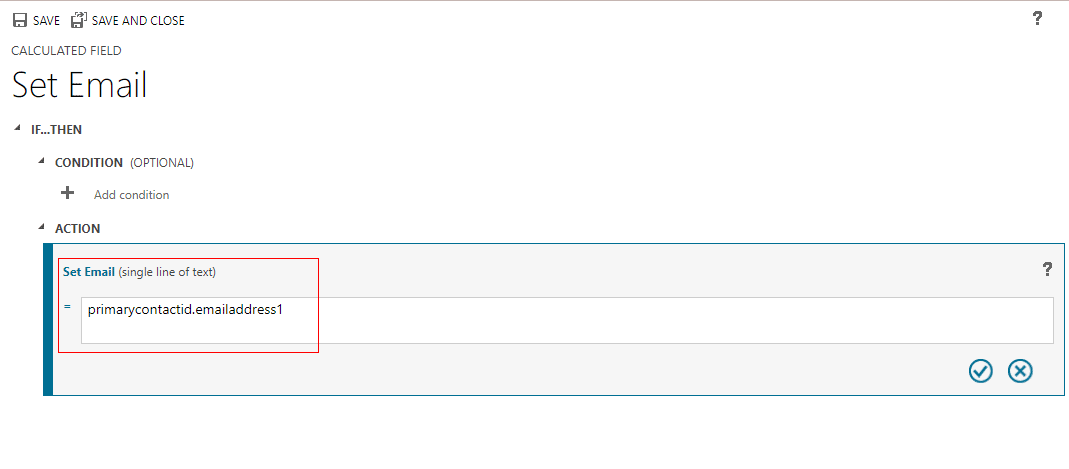
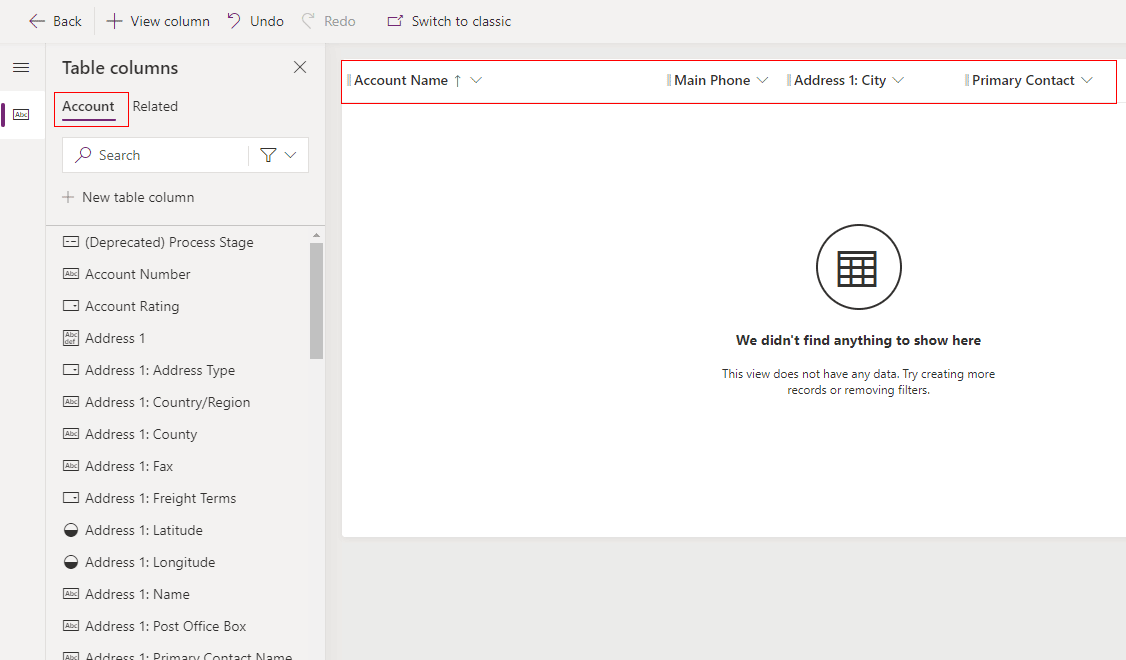
And then use this new calculated field in the view. With that, the new column will have the data from the related entity and the name as we need it.
But with this approach we will be limited to the data types of the column, as Calculated field is available only for the below data types:
Now, if we have any other column – like choices, file, or any other data type apart from above for which calculated column is supported – this option won’t work.
There’s another simple method with which we can rename the column using jQuery.
Create a JavaScript function in web resource and add that web resource and function name on the select column of the view.
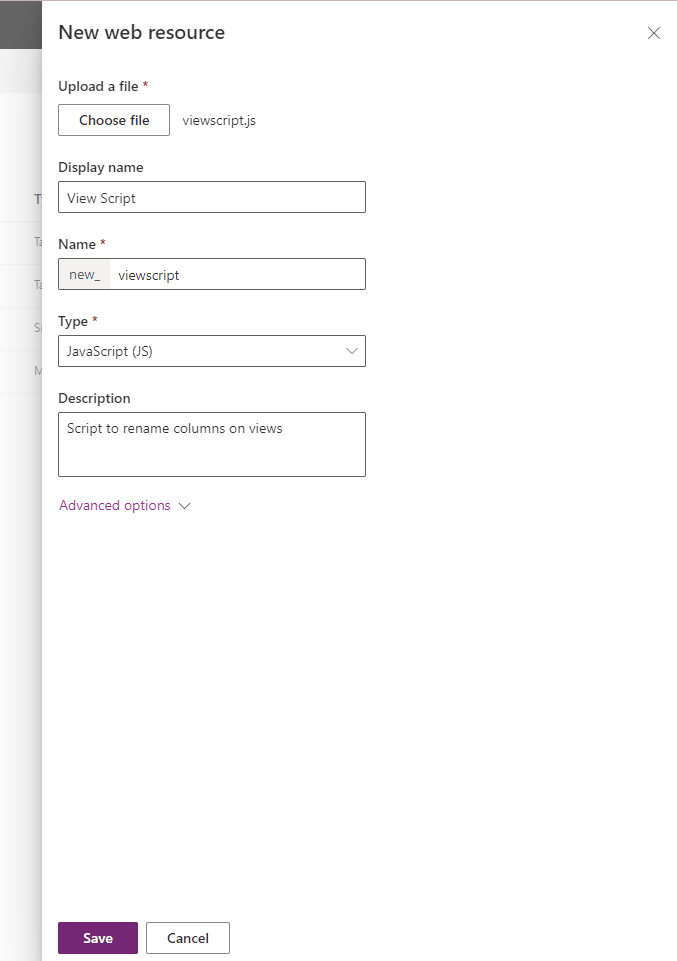
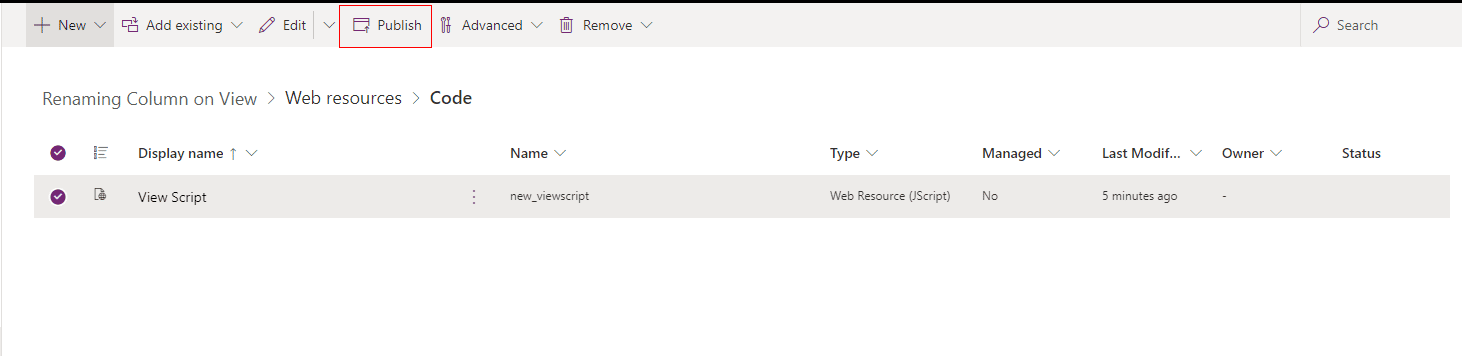
Create new web resource and publish it.
Add below code to viewscript.js file
function changeColumnText(){
    if (typeof($) === 'undefined') {
        $ = parent.$;
        jQuery = parent.jQuery;
    }
    $(document).ready(function () {
        $("label:contains('columnName')").text('newColumnName');
    });
}
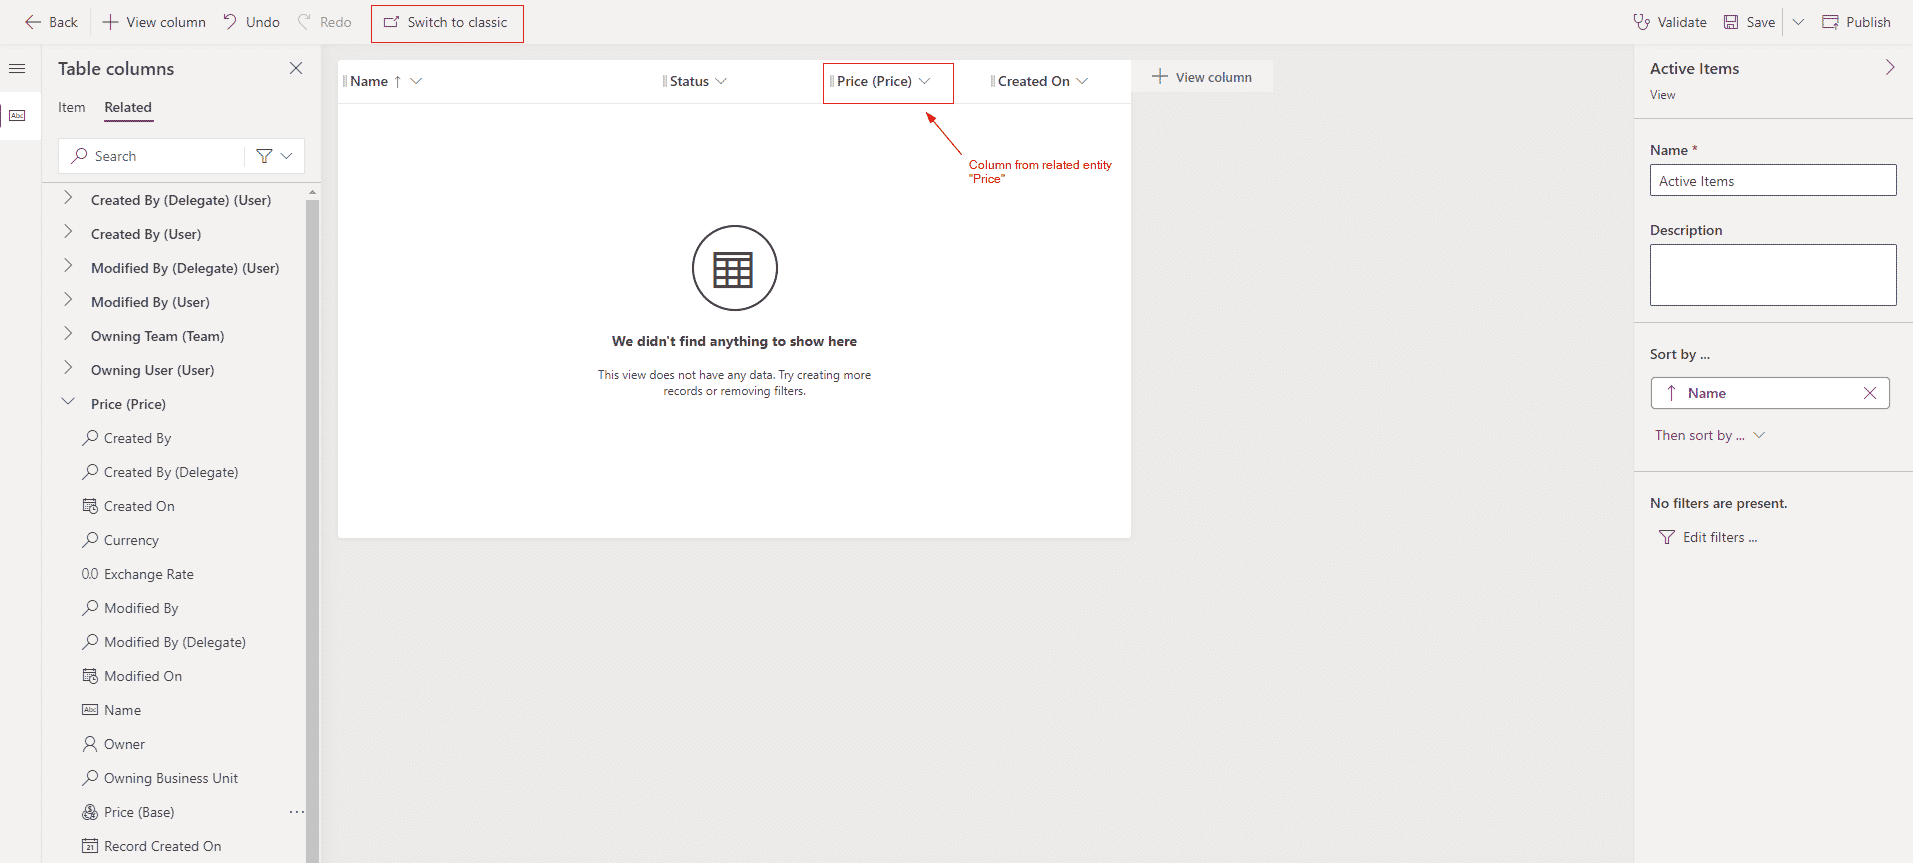
Then add this web resource to the column in the view.
Note: To select the web resource on column from view, we need to switch to classic mode
Double click the column to open column properties, add the web resource and provide function name
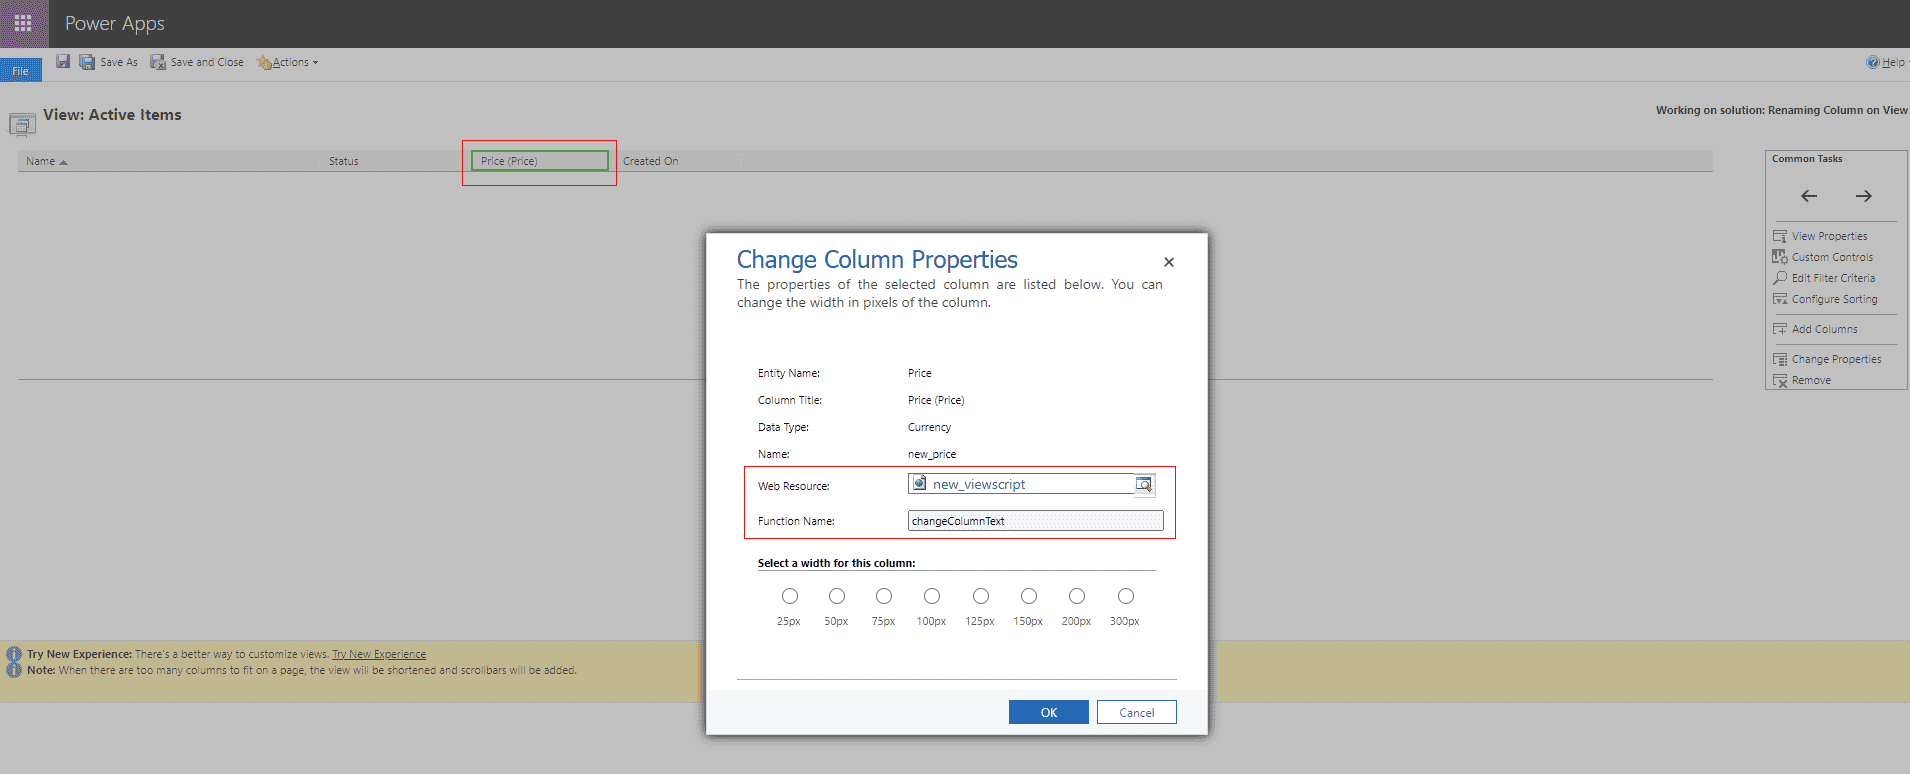
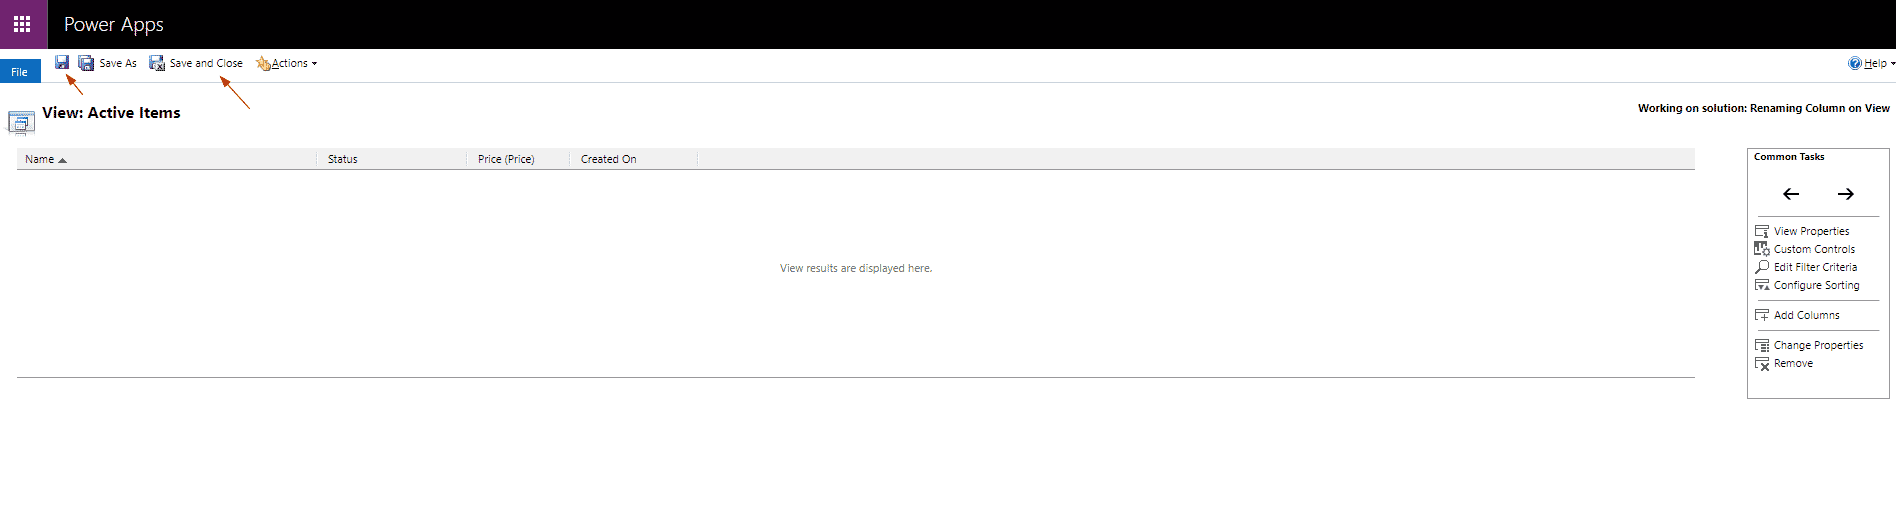
Click Ok and then Save the view.
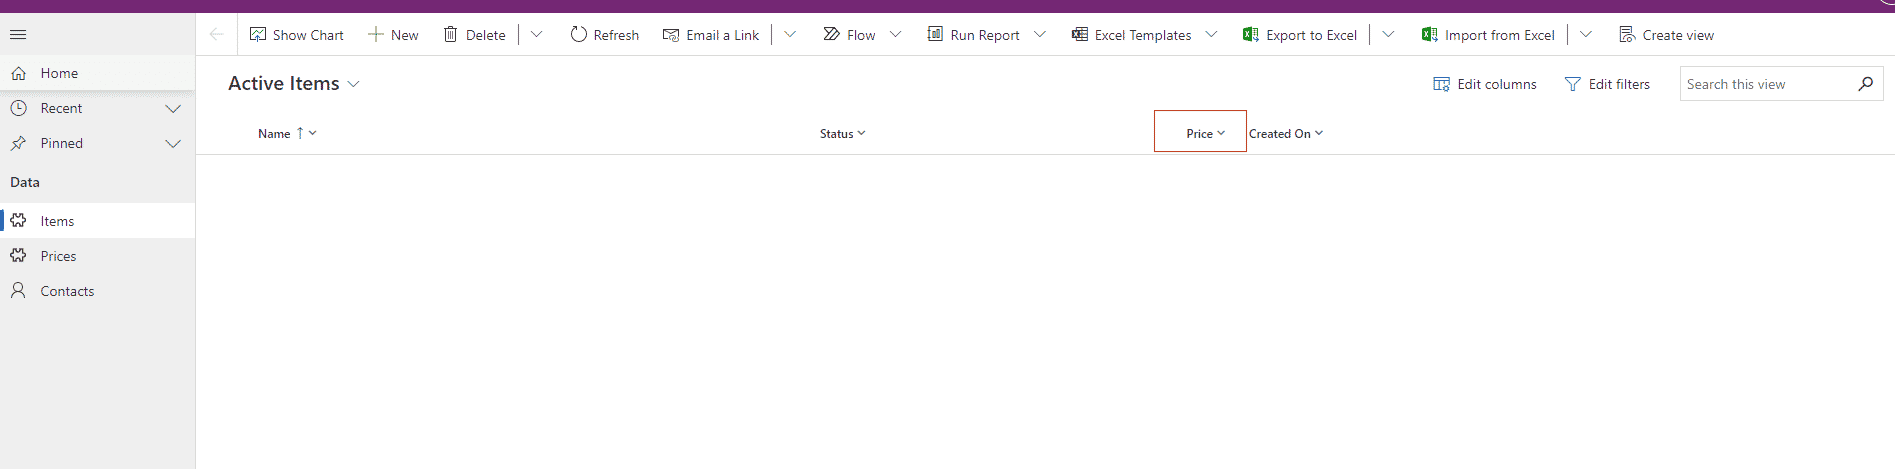
Once this code is added we’ll see newColumnName appears on the view.
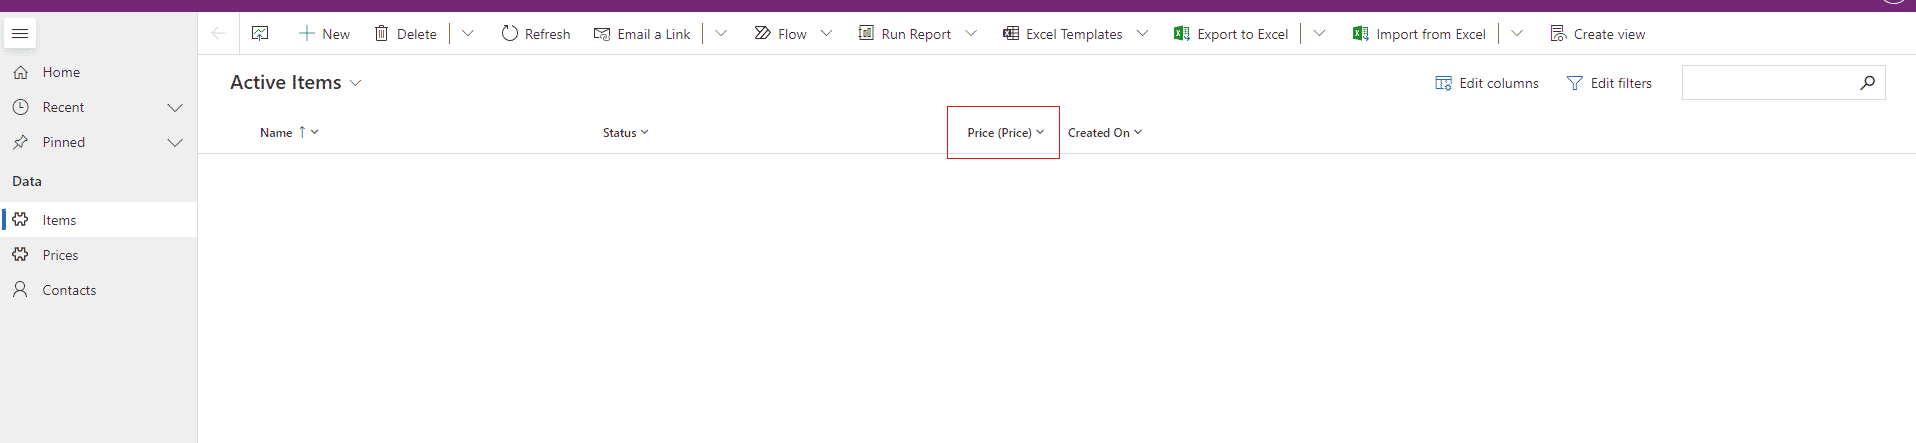
Before : columnName = Price (Price)
After : newColumnName = Price
In case if it doesn’t reflect right away, publish all customizations of an entity, and recheck.
Happy Dynamics 365'ing!


