How Microsoft Power Platform is helping to modernize and enable...
In this webinar, our experts showcase a variety of demo use cases of how different components of the...
Power Apps portals provide makers with the opportunity to build business functionality for external users allowing for truly self-service functionality. Makers can quickly create websites and customize layout and content.
In today’s blogpost, we will show how the Power Apps portal can be added to your environment in a step-by-step guide.
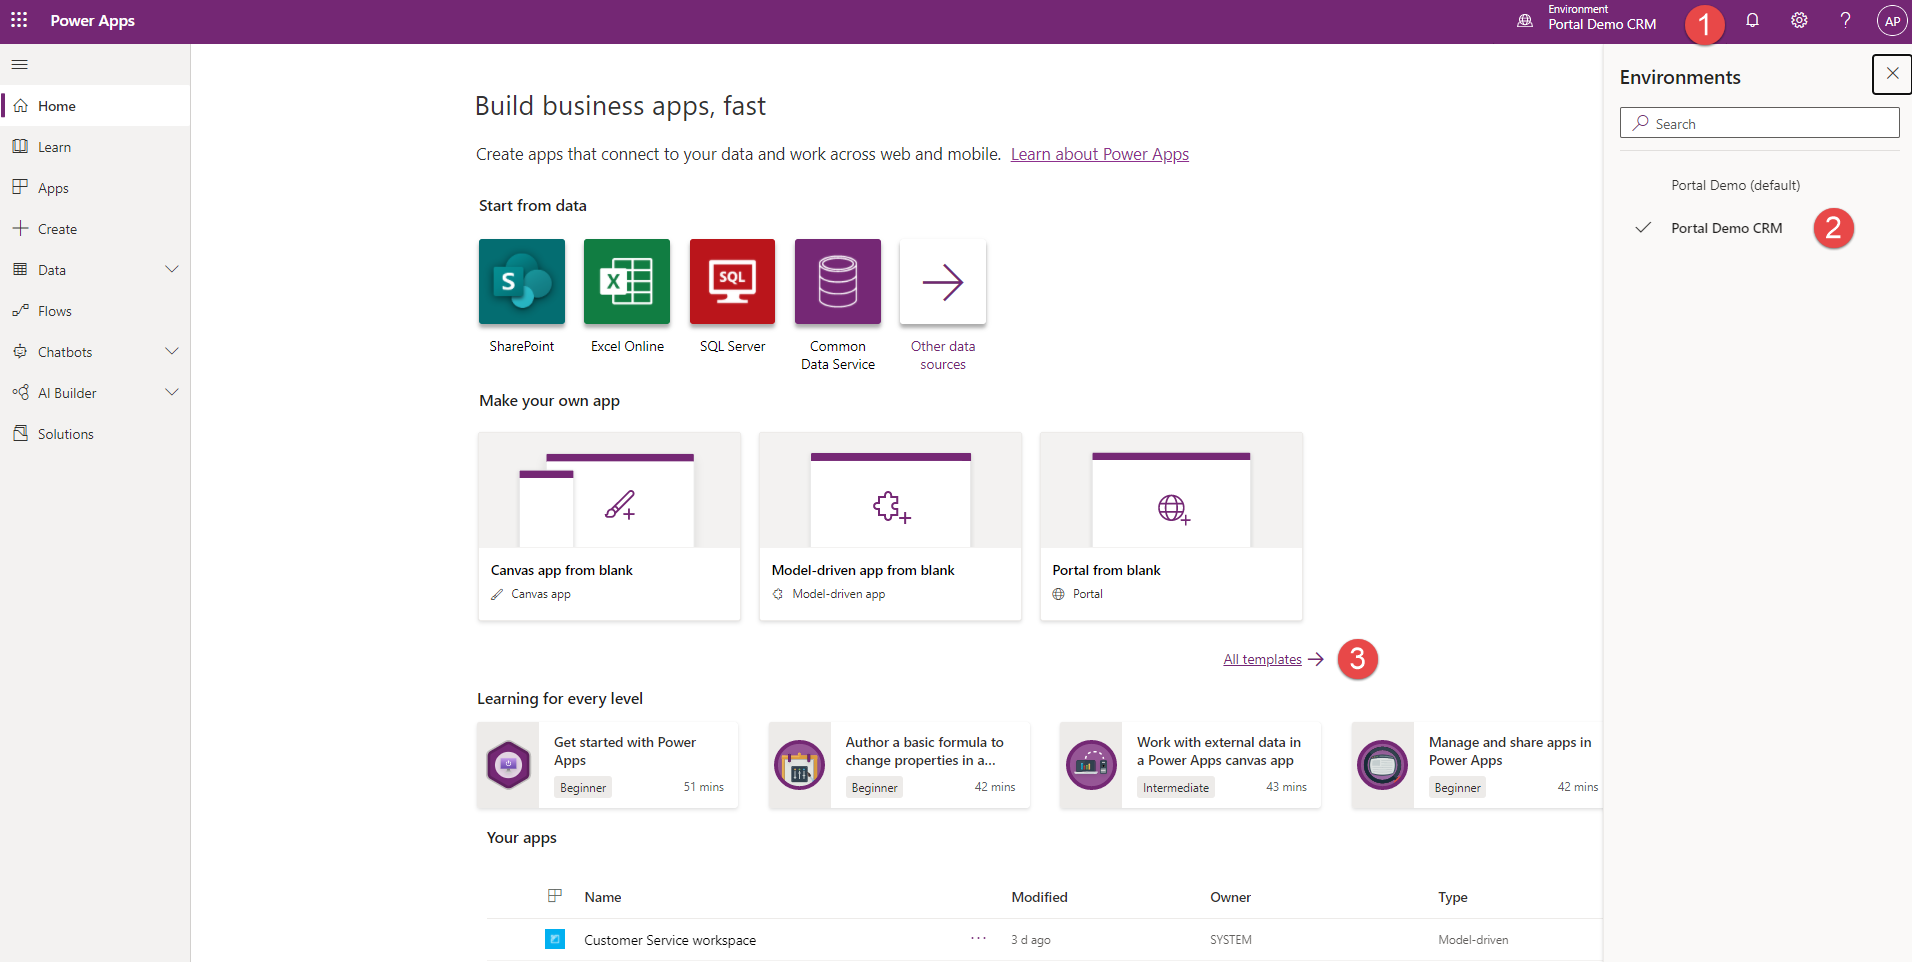
1. Log into make.powerapps.com and be sure you select the right environment where you want to add PowerApps portal (1 and 2 in the screenshot below). In this case we have selected an environment where Dynamics 365 is installed.
2. Click on All templates (3). This will allow you to search all templates.
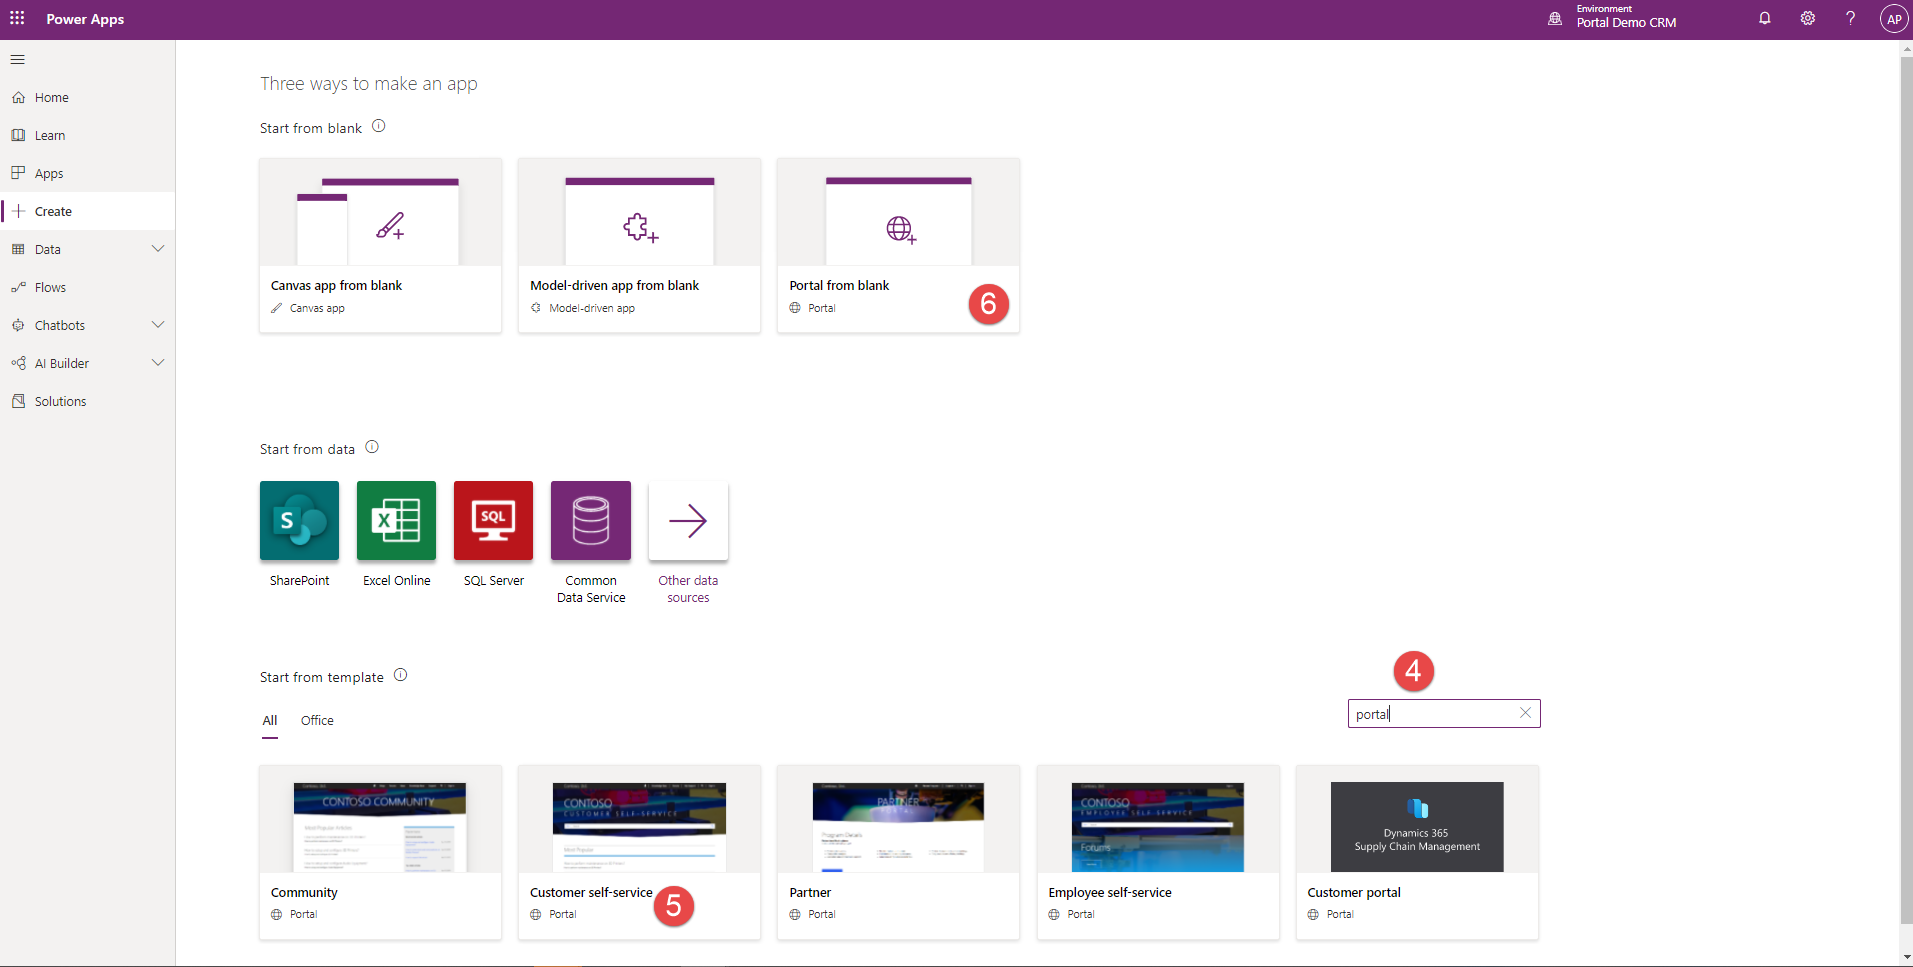
3. Search for ‘portal’ in the template search box (4 in the screenshot below) so that only portal templates will be displayed. In this case, we are going to add a Customer self-service portal (5). These templates have different out-of-the-box functionality, so be sure you do your research to ensure you’re adding the right portal for your required functionality. More info on Portal templates here: Microsoft documentation.
Please note, that if you are adding a Power Apps portal to an only-Power Platform environment, there will not be portal templates available. In this case, a portal can be added using a Portal from blank (6) link.
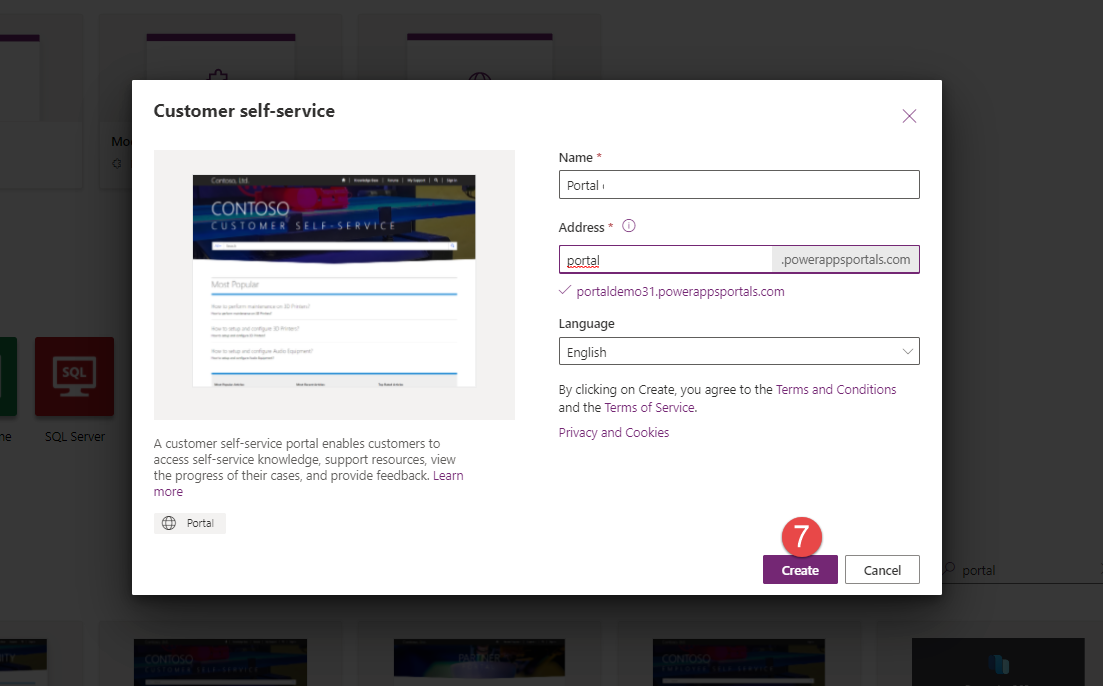
4. In the pop-up window, name your portal and provide the URL the portal will use. There will be a check to see if the URL of your choice is available – if not, select a new one. No worries about the domain ‘.powerappsportals.com’ – if required, this can be replaced later using a SSL certificate. Once you have filled the data, click Create (7) to enable.
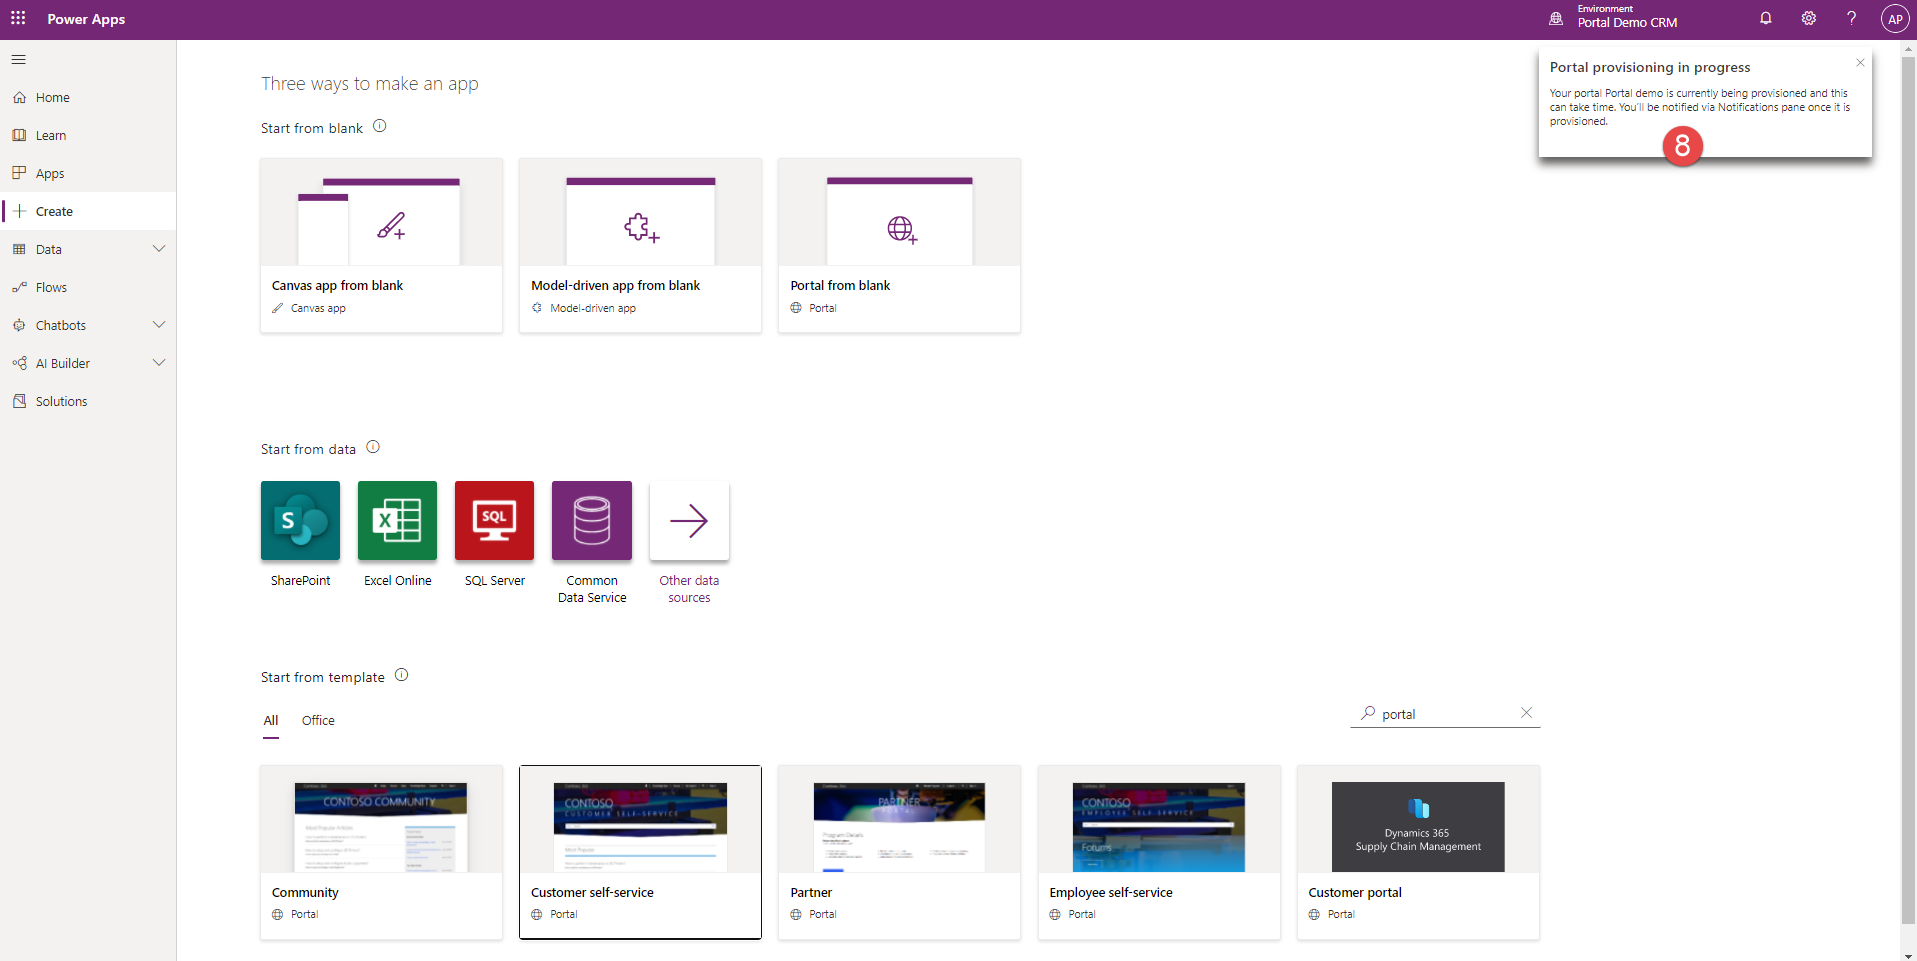
5. A message will appear on your environment to inform that your portal is being added to the environment (8).
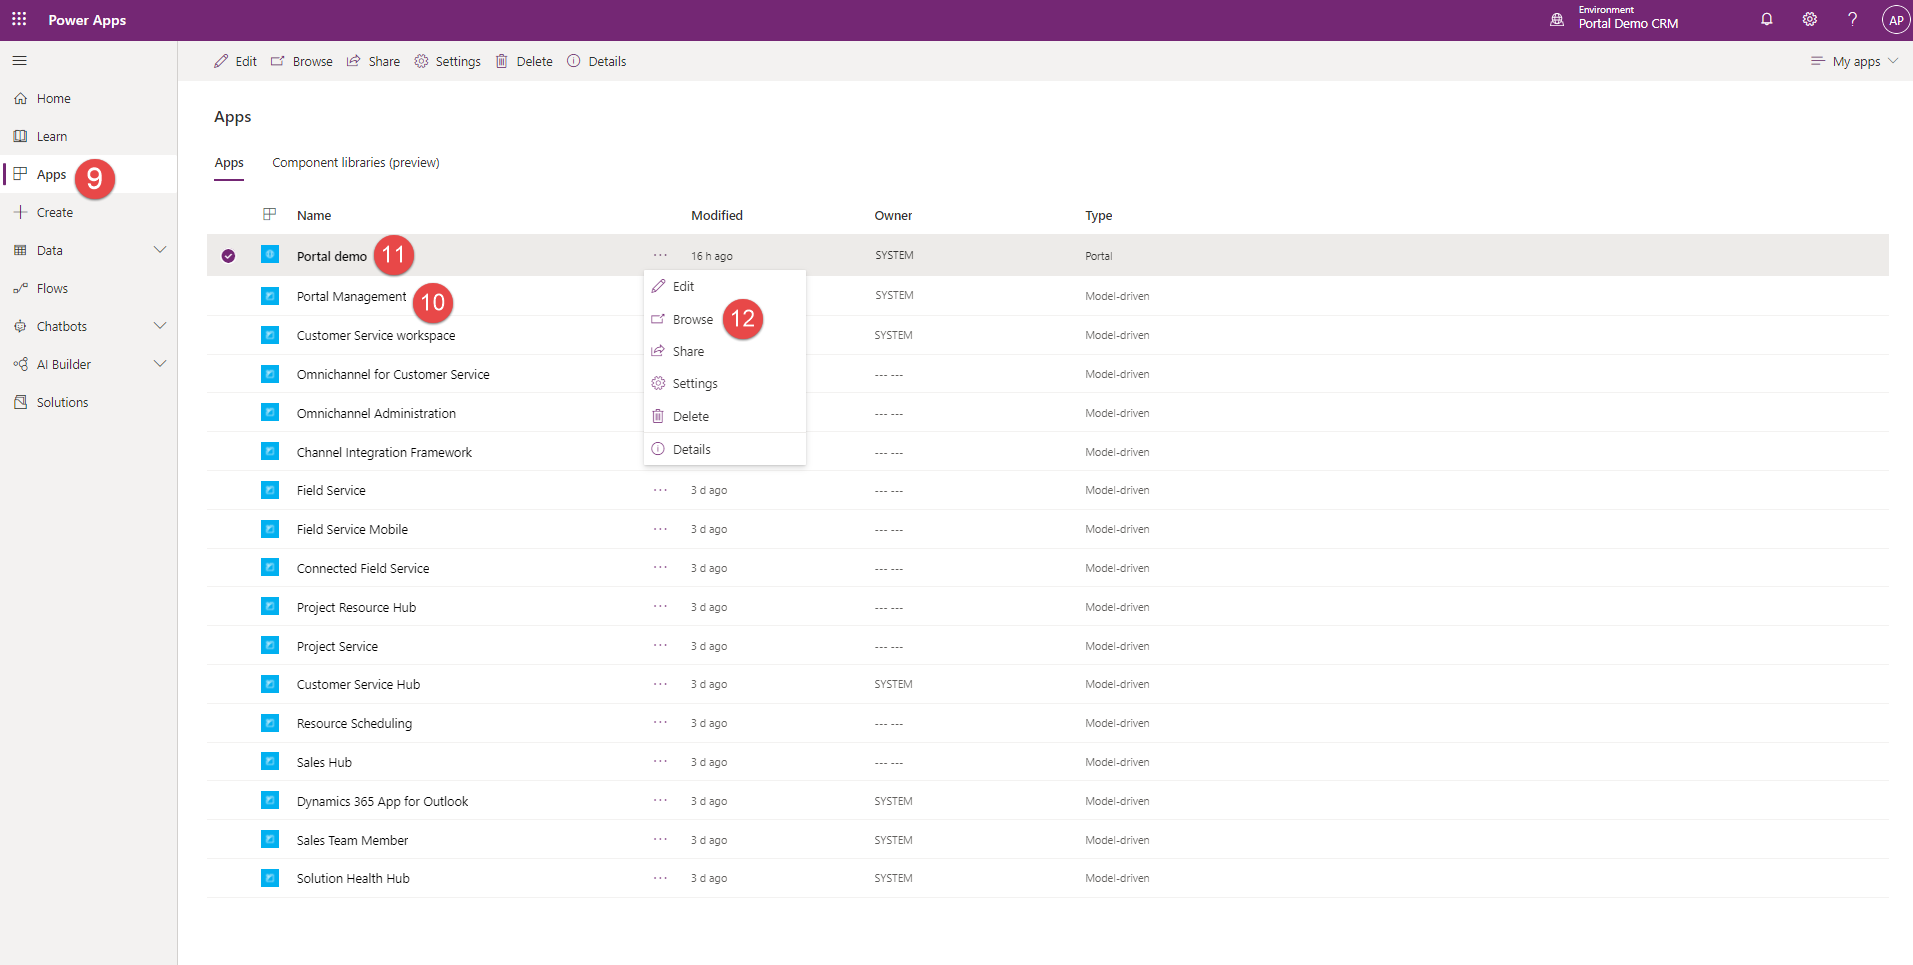
And if you go back to your environment and select Apps (9) on the left panel, you will be able to see that a Portal Management Model-driven app (10) has been added to the environment along with a Portal demo (11). Click the ellipses on the Portal app and a menu will pop up: click Browser (12) and the portal website will open in a new window.
And that is all! Your Power Apps portal is now ready to be customized to your requirements and kick off the digital transformation for your business processes.
Happy PowerApps’ing!